

3 of the Most Exciting Printing Techniques on Paper
Home » Uncategorized » 3 of the Most Exciting Printing Techniques on Paper
People outside the art world usually come across the names of fine art printing techniques only on the small labels describing the paintings on display in galleries.
Intaglio printing techniques (or intaglio, from the Italian intaglio) involve engraving a surface and printing the carved image onto paper —hence the name “intaglio.” These techniques are used to create prints with a beautiful velvety finish that cannot be replicated by any other technique.
Dry Needle
Drypoint is usually the first intaglio printmaking technique that students are introduced to. It is more accessible and beginner-friendly, as it most closely resembles drawing with a pencil.
The tool used is a needle with a very hard and sharp metal tip, with which the image is engraved onto acetate or acrylic plate (Veralit or Plexiglas), copper or zinc plate. Choosing a transparent sheet makes it easier to place it over a pre-drawn design made with pencil or a fine-tip pen, which serves as a guide during the engraving process.
Needles with tips sharpened in various ways are available —to achieve different depths of indentation—as well as more specialized tools for creating other textures. In practice, any sufficiently sharp materials at hand can be used (such as a scalpel). A variety of sanding papers are also used to achieve specific textures.
What’s interesting about drypoint is that during engraving, the marks on the printing plate are created not by carving, but by pushing the material out with the tool, creating grooves with jagged edges called barbs. The line is soft, and its edge is uneven, slightly jagged. The barbs hold more ink than the strokes themselves and create that unique velvety-soft effect characteristic of this technique.
Greasing
Oil-based inks are used for drypoint printing, which must be low-viscosity (flowable) enough to be easily rubbed into the strokes, and then the excess ink can be wiped off the surface of the printing plate. If offset ink is used, oil paint and linseed oil are added.
The ink prepared in this way is carefully rubbed into the engraved lines. A thin layer is applied using a pre-prepared pad (preferably made of satin fabric). Then, wipe the excess ink off the surface with a clean cloth swab so that it remains only in the engraved lines. The plate is then smoothed with the palm of the hand, applying even, light pressure, to bring out the details of the image and ensure a clear print.
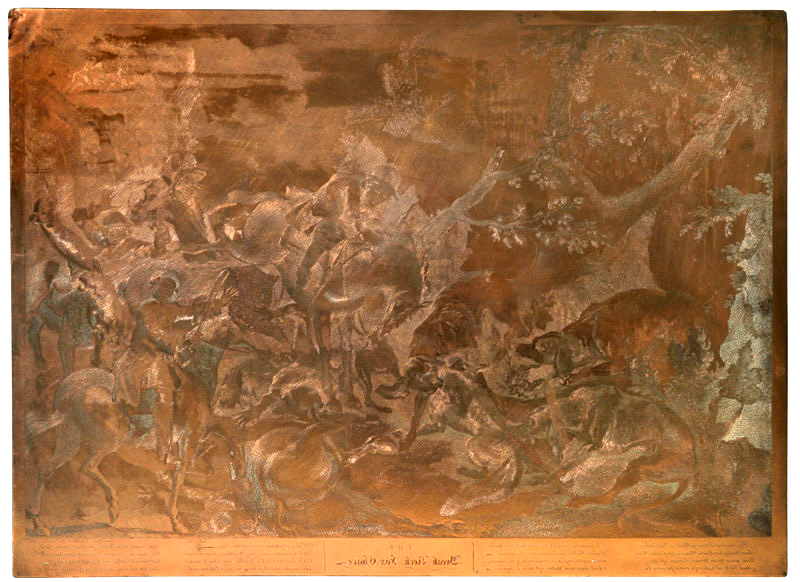
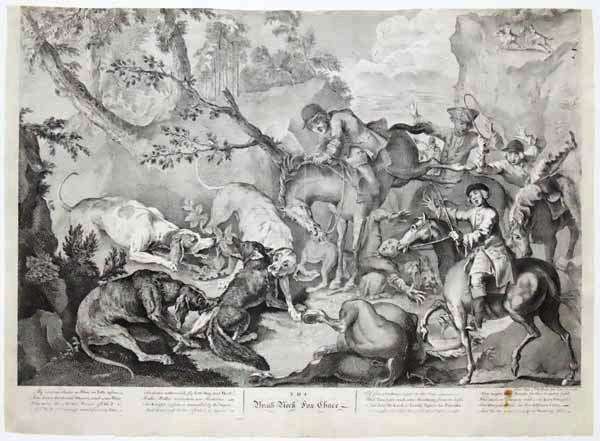
The correct selection of printing paper and its preliminary preparation are essential for print quality. Paper with good water absorption, at 50–60%, is used. cotton fabric, preferably with a smooth, satin-like surface—the so-called “hot press.” Preparing the paper involves soaking it in a tub of water for about 3–5 minutes and then let it dry between clean filter papers. It is important that the sheet be only slightly damp (well-dried) to prevent the paper fibers from fraying.
For professional results, printing is done using a letterpress equipped with a felt blanket and a printing rubber. To position the paper correctly, a pre-prepared registration template is used, which is placed on the press bed. The printing plate is placed face up on the outline of the registration guide, and the sheet of paper is placed on top of it. (If you don’t have a letterpress, you can use a bar or a wooden/metal spoon.)
The Technique drypoint usually allows for the production of a relatively small number of high-quality prints, since the barbs along the engraved lines are flattened by the strong pressure of the press, resulting in a decline in print quality. Typically, up to 10–15 high-quality prints can be produced (up to 20 when using copper plates and glass plates).
Etching
The name “etching” comes from the French “eau forte,” or “strong water,” which actually refers to the acid used in the technique. Of all intaglio printmaking techniques that use the corrosive action of acid to etch the image elements into a metal surface, etching is undoubtedly the most popular and has the richest traditions. In this technique, the image is etched onto a metal plate (zinc or copper) that has been pre-coated with an acid-resistant ground.
Although each artist has individual preferences in preparing the etching primer, the most traditional and popular recipe remains: 2 parts by volume of asphalt, 2 parts by volume of beeswax and 1 part by volume of rosin, dissolved in a water bath in turpentine . Currently, acrylic-based etching primers are becoming increasingly popular, which, in addition to being excellent protectors against corrosive agents, are also non-toxic.
Description of the Technological Process
After priming the back of the panel with a durable primer (using PVC film or wide masking tape, applied with overlapping strips), the image is etched with an acid solution. Depending on the duration of the etching process, the lines and strokes become more or less deeply etched.
There are two main ways to grade an etching:
- This is achieved by etching the plate with lines of varying degrees of saturation, which are then gradually etched away. With each subsequent etching of the image, it is enriched with increasingly fine and light tones. In this method, the darkest lines and strokes are engraved first. In this way, exceptionally rich tonal values are achieved in etching—ranging from silvery gray to deep black.
- With this method of gradation, the image is etched in its entirety, across its full range of saturation, with individual areas periodically coated with a quick-drying retouching primer, after which the etching process continues.
- Once the etching process is complete, the plate is removed from the acid solution, rinsed thoroughly under running water, and the primer is removed from its surface using a solvent (AMB, turpentine, or gasoline).
- The plate is inked by carefully rubbing the printing ink into the lines. The ink is spread thinly and evenly using the edge of a plastic card or a piece of linoleum, so that it fills all the grooves carved beneath the surface.
- After the ink has been completely removed from the surface of the plate, it remains only in the grooves etched into it. Printing is done on pre-moistened paper using a gravure (intaglio) press.
Preparation and Chemical Treatment
- Zinc is usually used for etching zinc or copper plates. Copper plates outperform zinc plates in terms of quality and durability. Soft copper captures even the slightest scratches.
- The sharp edges and corners of the sheets are rounded off with a file or a rasp so they won’t tear the paper as it passes through the press.
- The slab is polished to a mirror finish to remove any factory-induced imperfections. This prevents these imperfections from showing up later.
- The slab is cleaned of polishing paste and degreased.
- With a wide, soft brush (with synthetic bristles) , apply an acid-resistant primer evenly and thinly, let it dry, and then you can begin engraving.
- The engraved metal sheet is immersed in acid, which corrodes only the unprimed strokes exposed by the tools (etching). The back of the plate must be protected. Self-adhesive vinyl foil can be used for this purpose. The longer we leave the sheet in the acid solution, the more pronounced (etched) the drawn lines will be. The depth of the etching also depends on the strength of the etching liquid, as well as the ambient temperature.
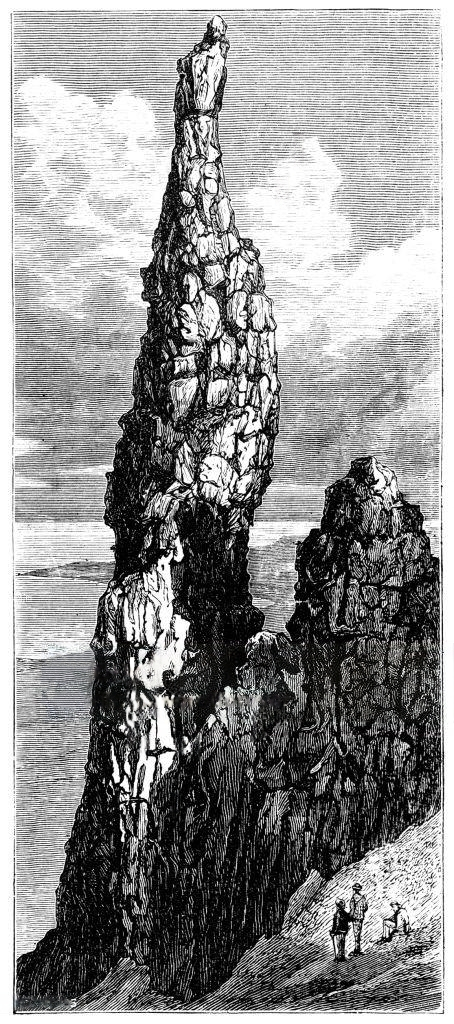
Printing an Etching
Since the process involves working with metal, which is more durable, an etching plate can yield up to several hundred high-quality prints. The beauty of this technique is that the plate can be adjusted, refined, and enhanced after the test print through scraping, polishing, or re-etching until the desired contrast and tonality are achieved.
Aquatint
Aquatint (from the Latin aqua, meaning “water,” and tincta, meaning “tone”). As the name suggests, the graphic language of the aquatint technique involves form-building through the richness of gradually varying tones.
Aquatint is one of the most popular intaglio printmaking techniques among printmakers. Invented by the Frenchman Jean-Baptiste Leprince between 1765 and 1768, it is a method of halftone etching that allows for a rich range of tonal gradations. The technique is distinguished by its distinctive painterly effect, resembling a watercolor painting. It can be used on its own or in combination with other printmaking techniques, such as etching, drypoint, lavis, or réserve. During the last quarter of the 20th century (and today), the so-called photo-aquatint has also gained popularity.
Stages in the Aquatint Technique
- Zinc or copper plate is polished, and its edges are beveled with a file or a scraper.
- Finely ground asphalt, colophony, or copal (types of resin) are sprayed onto the metal sheet by hand or using a drum sprayer.
- The powder particles are fused and bonded to the metal surface by melting them with a heat source (hot plate). As a result of this procedure, the plate develops the characteristic acid-resistant grain. The tiny droplets create a uniform, granular insulating coating. The finer the powder is ground, the finer the aquatint grain, and, accordingly, the more homogeneous and even the resulting tone. The size of the droplets and their density can vary, and this affects the overall tonal structure of the final image.
- This is followed by etching with acid or a metal salt. The etching process takes place between the droplets. Areas that are not to be etched are coated beforehand with a liquid, quick-drying primer or a permanent varnish-based marker.
Preparation
- The metal plate is filed down along the edges and polished.
- It is then carefully dusted with asphalt or powdered rosin. It is important to apply the powder very evenly. Any unevenness in the layer will be reflected in the light and shadow of the final image.
- The sheet of metal is heated on a plate, and the rosin (which is a type of resinous substance) melts and solidifies into small droplets.
- Immersion in acid: The intensity of the tones is controlled by the duration of immersion, as well as by the gradual application of etching ground to different areas, which protects them from corrosion. In other words, the process involves repeated applications of the ground and repeated immersions.
- The advantage of aquatint is that the etching process takes much less time, since the rosin is etched away much more quickly. The time required depends on the strength of the acid and the acid-metal combination.
Key
The intensity of the tones is controlled by the duration of immersion, as well as by the gradual application of etching ground to different areas, which protects them from corrosion. The procedure is repeated until the desired number of distinct tonal stages is achieved, ranging from silvery-gray to rich velvety black (from a few seconds to 8–12 minutes in a weak 1:10 acid solution, 1:12).
To refine the process, it is advisable to prepare a test scale in advance to determine the etching time, depending on the type of metal selected for the job and the strength of the corresponding etchant (acid or salt).
Reproduction
The surface is primed after the slab has been cleaned of primer and rosin using thinner. The process is identical to that used in the etching technique. Even at this stage , the various tonal values achieved through etching are visible .
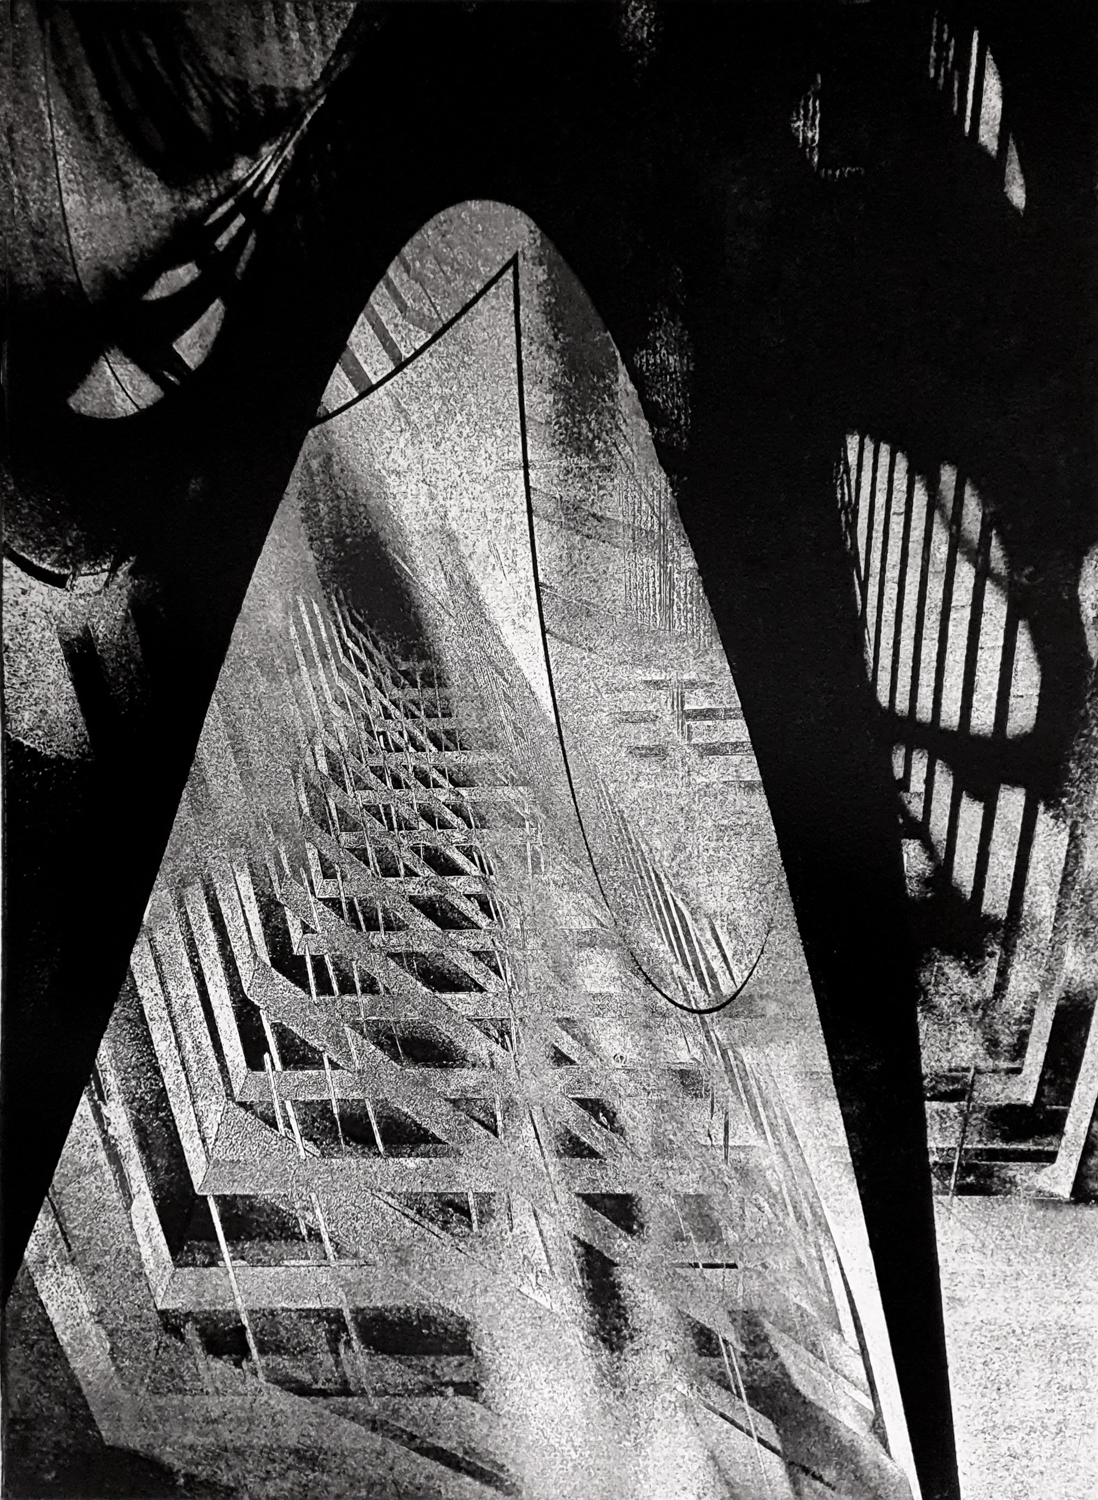
The aquatint technique allows for the production of up to 15–20 prints of consistent quality from zinc plates and up to 30 or more prints from copper plates. For larger print runs (up to 100 copies), the metal plate must be steel-plated.
The graphic series by Goya, Picasso, and Käthe Kollwitz represent the pinnacle of achievement in the aquatint technique. Even today, at the beginning of the 21st century, this technique remains the preferred medium of expression for many prominent contemporary printmakers.
The Joy of Graphic Printing
lies not only in the creation of complex images and narratives using simple means of expression, but also in the refinement of the printing process and the element of surprise before the finished work is revealed.
Author: Prof. Dr. Snezhina Biserova


