

How Are Candles Made? A Guide for Beginners.
Home » Uncategorized » How Are Candles Made? A Guide for Beginners.
After we’ve looked at the different types of wax and wicks, let’s dive into the real question how to make candles in the easiest way possible.
For some, this may be a way to save money on expensive scented candles or to bring joy to their loved ones, while for others, it may become a hobby that generates additional income.
A Matter of Balance
Patience and experimentation are key to candle-making. Through trial and error, the combinations of various factors—such as the size and type of wick, the material and size of the container, the type of wax and fragrances, and the working temperature—are refined to achieve the desired balance. A high-quality candle does not overheat, does not emit soot or smoke while burning, it burns the wax around the wick completely or almost completely without creating a tunnel in the center, it burns with a steady flame, and it smells pleasant not only when lit but also when cold.
Therefore, it is recommended to produce large batches of candles only after conducting a series of tests and achieving consistently successful results.
What kind of container should we choose?
Beginner candle makers will feel most confident working with containers that aren’t too wide and have a regular cylindrical or hexagonal shape for pouring the wax. Of course, tall or freestanding candles are also very beautiful, but they require more experience, tools, and a much larger amount of wax to make.
Cone-shaped containers can make it difficult to choose the right wick. Tall, narrow containers are also a poor choice, as they can become blackened by the flame and make it difficult to secure the wick and light it. For safety reasons, avoid plastic, thin-walled containers and those with irregular shapes.
Glasses and jars made of dark or frosted glass will soften the brightness of the flame, and if we want more light, we can choose clear ones.

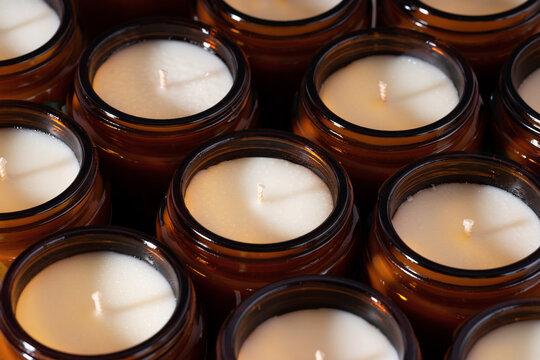
Melting and Pouring
To be sure the wax won’t burn, it can be melted in a double boiler using a metal or glass pitcher or bowl. More experienced crafters can also melt it directly on the stovetop. It’s best to set aside a container and utensils specifically for this purpose. Ideally, you’ll also need a kitchen scale and a cooking thermometer to accurately measure the ingredients and their temperature. While the wax is melting, keep an eye on it and stir it periodically with slow, gentle movements to minimize the formation of bubbles. Excess air is released to the surface by tapping the outside of the container at the level of the hot liquid.
Pour the liquid wax carefully and all at once. This is where wax-melting pots come in handy, because they’re lightweight, have a heat-insulated handle, and allow for precise pouring. Refilling does not affect how the candle burns, but it will be visible from the outside if the container is transparent.
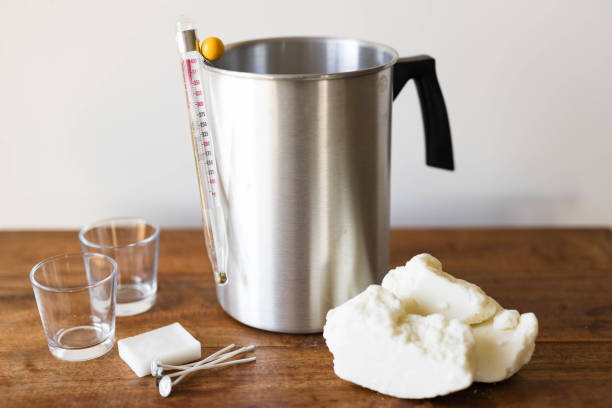
Let the candles cool gradually in a room at a moderate temperature for at least one full day. It’s best not to move them until they have hardened. For optimal burning and fragrance release, they usually need at least another 3–5 days, depending on the type of wax. In practice, they can be lit as soon as they have cooled, but they will burn much faster that way and will not perform at their best. This is especially true for soft waxes such as soy wax.
Melting point
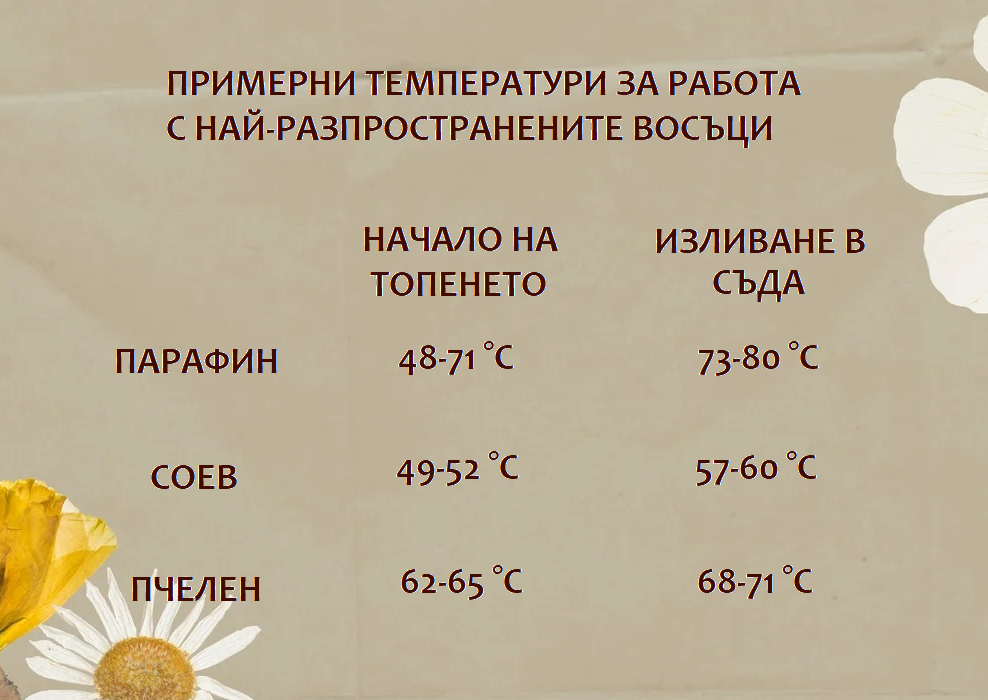
The varying hardness of waxes corresponds to different melting temperatures. Harder waxes generally melt at higher temperatures. Ideally, this information is listed on the packaging.
Essential oils also vary in viscosity. For example, it is easier to add and mix thicker essential oils when the wax is at a higher temperature.
Preparing the wicks
While the wax is slowly melting on the stove, we can prepare the containers by attaching the wicks to the bottom and centering them. It’s also possible to do it the other way around—pour the wax first, then place the wick.
The wick holders can be attached using adhesive dots or a silicone caulking gun. For a secure attachment, it’s recommended to clean the surface with rubbing alcohol. You can center them using a wick holder or everyday items like popsicle sticks and clothespins.
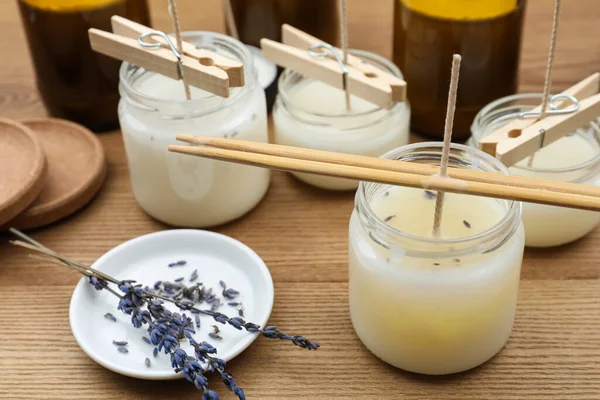
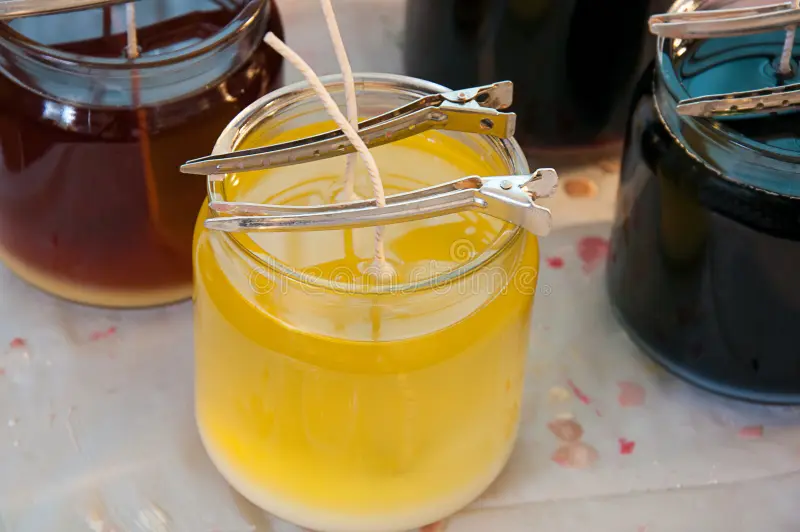
The wick can be trimmed beforehand and gently pushed toward the center after the container has been filled, or it can be cut once the wax has hardened. There are special scissors for trimming, but regular scissors can also be used for this purpose. Elongated trimmers are used primarily to trim a wick that has already been lit, which extends the candle’s life and improves the flame.
Candle Fragrances
It is well known that the sense of smell stimulates memory and emotions much more powerfully than the other senses. This makes adding scents to our candles perhaps the most exciting part of the entire process.
Specialized fragrances are used for candles; these are heat-resistant and do not contain flammable or harmful volatile ingredients. They typically also fall into the category of fragrances used for soaps and diffusers.
It’s best to add essential oils and perfumes at a temperature higher than the wax’s melting point so that the wax molecules can expand as much as possible and “encapsulate” the fragrance molecules. This ensures that the two are thoroughly blended. Continuous stirring is also important for achieving a homogeneous mixture.
Properly made scented candles give off a scent both when cold and when lit. To experience the full intensity of the scent, you should let the candle burn for at least 1 hour to create an even layer of melted wax that reaches the sides of the container. As the wax heats up, the scent molecules will be released.
Keep in mind that different types of wax can hold varying amounts of fragrance.
Generally speaking,
- 6% to 10–12% of fragrance is added to the soy wax;
- to honey—from 6% to 10% (compatible with its natural aroma);
- and for paraffin, 3% to 6–8%.
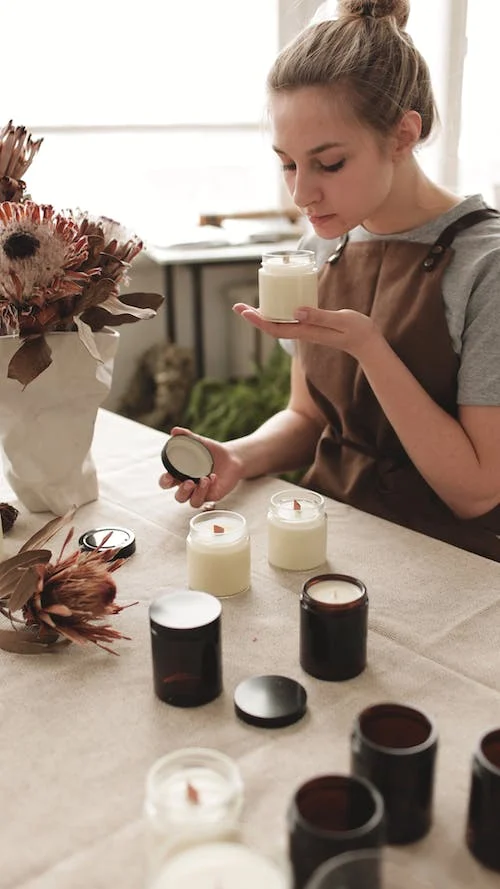
The amount depends on personal preference and the characteristics of the fragrance.
Anything we add to the wax can change its color. For example, vanilla slightly tints pale soy wax, while patchouli oil will cause beeswax to darken.
Tips for Dealing with Some Common Problems
- A faint smell when burning can result not only from using too little fragrance, but also from using too much. Another reason for this problem may be the size of the wick or incompatibility between the fragrance and the wax’s melting temperature;
- Some scents are more noticeable when the candle is cold, while others are more pronounced when the candle is burning. They can be combined so that the candle smells wonderful at all times;
- For candles with a larger diameter, we can easily add two wicks to ensure they burn well;
- The appearance of a crack around the wick suggests that the wick is too thick for the container, or that the wax was too hot when it was poured;
- Some of the most common defects are usually attributed to differences in the temperature of the wax, the containers, and the room in which we are working. Preheated jars, for example, help the warm wax adhere tightly to the sides and prevent it from pulling away as it cools;
- It is said that candles have a “memory”—that is, they burn for the same length of time as they did the last time. Therefore, when using a candle for the first time, it should be left burning long enough for the melted wax to form an even layer on the surface, reaching the sides of the candleholder. This will prevent a hollow from forming in the center, and the candle will burn completely.
- Minor surface irregularities or slight sinking of the wax can be corrected with a heat gun or by flambéing.
Author: Martina Petrova


