

How can we make paper for pastels?
Home » Uncategorized » How can we make paper for pastels?
Dry and oil pastels are among the most versatile media, taking us back to the primal sensation of drawing with our fingers and a stick of pigment.
However, to fully appreciate their qualities, we need to have the right materials on hand. Good-quality paper and boards for pastels often fall into the category of art supplies that are more expensive or hard to find here, so here we offer affordable ways to make them at home. Homemade pastel paper is not only a budget-friendly option for pastel enthusiasts and hobbyists who often like to experiment, but also a way to create exactly the kind of paper we want, in the size we need. This way, you can choose the color, thickness, and stiffness of the sheets while controlling their texture.

A Base for Dry Pastels at Home
The easiest way to make paper for dry pastels is to apply a layer of transparent gesso or fine-textured paste to cardboard ( preferably absorbent watercolor paper) or a rigid surface.
To cover the white so it doesn’t show through the colors, the sheet can be tinted beforehand with acrylic (opaque or transparent) or watercolor paint, or the color can be added to the primer (acrylic paint to the primer). With texturing pastes, pre-coloring is mandatory, as they are not transparent. In addition to acid-free and lightfast paper, it is important to select lightfast paint as well.
The artist can use this step to make the process easier and to suggest the composition with color, or to directly sketch the basic shapes with a pencil. Keep in mind that repeated application of the wet primer will begin to dissolve and smudge the colors if they were applied with watercolor.

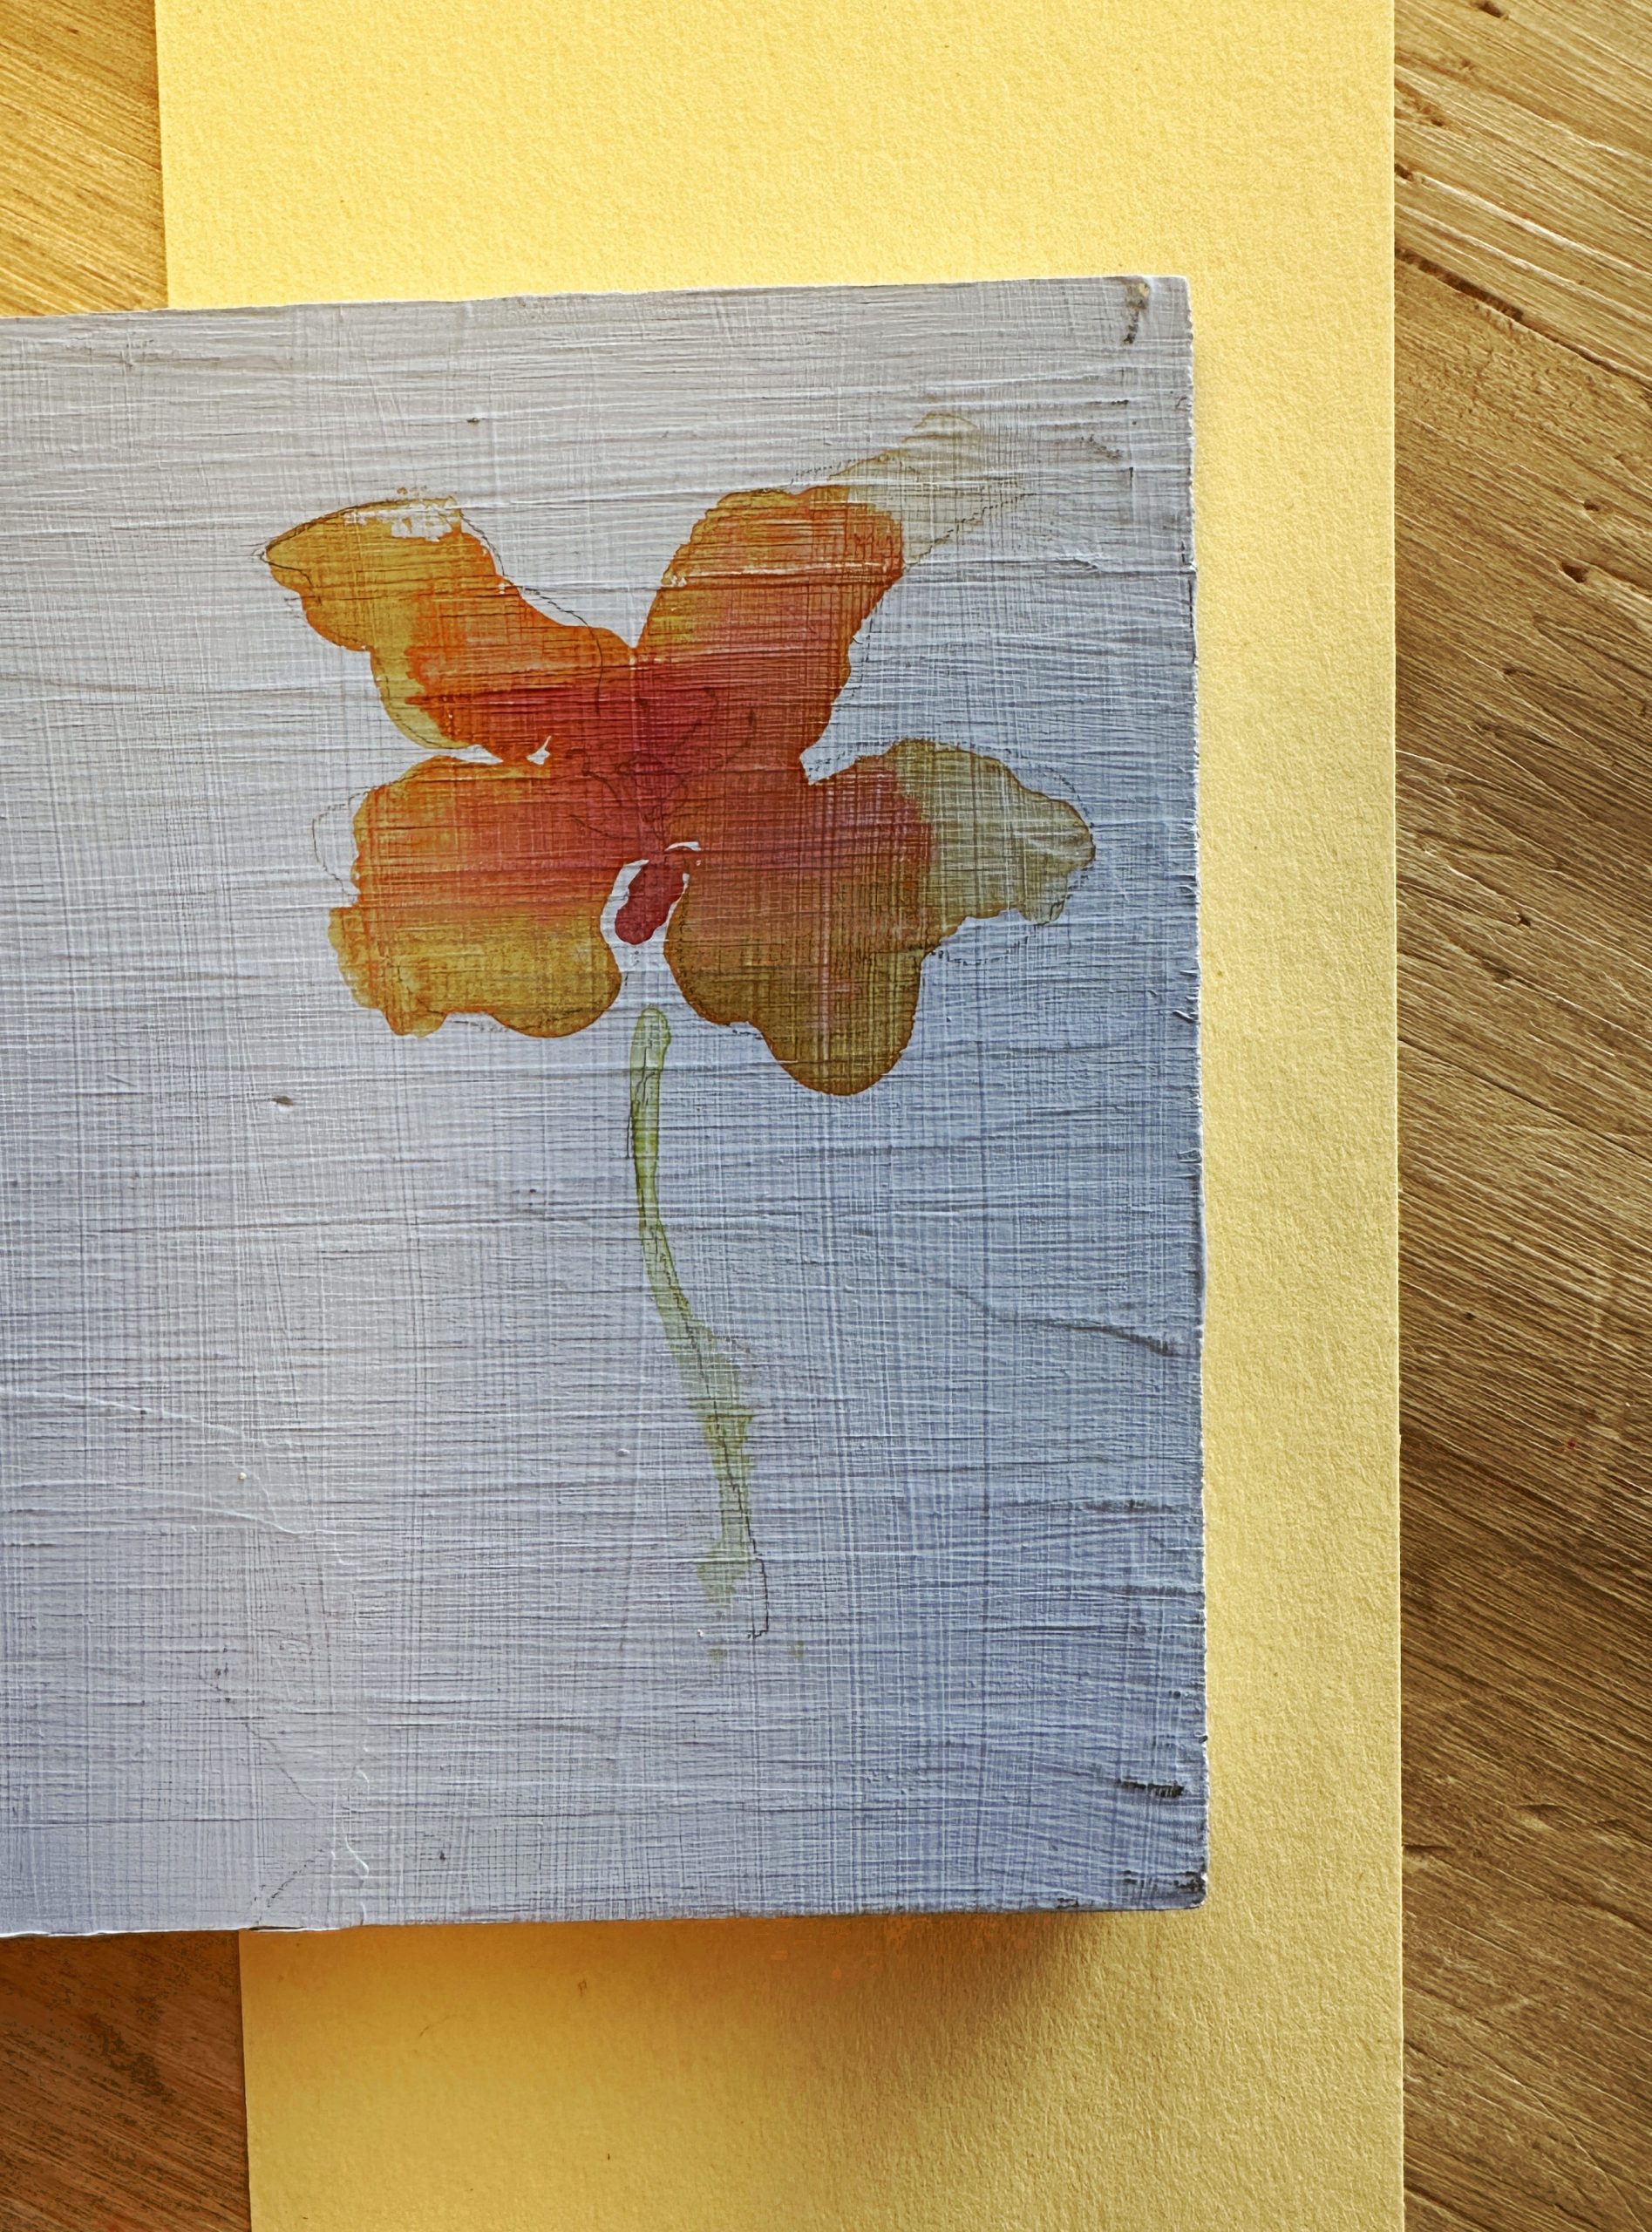
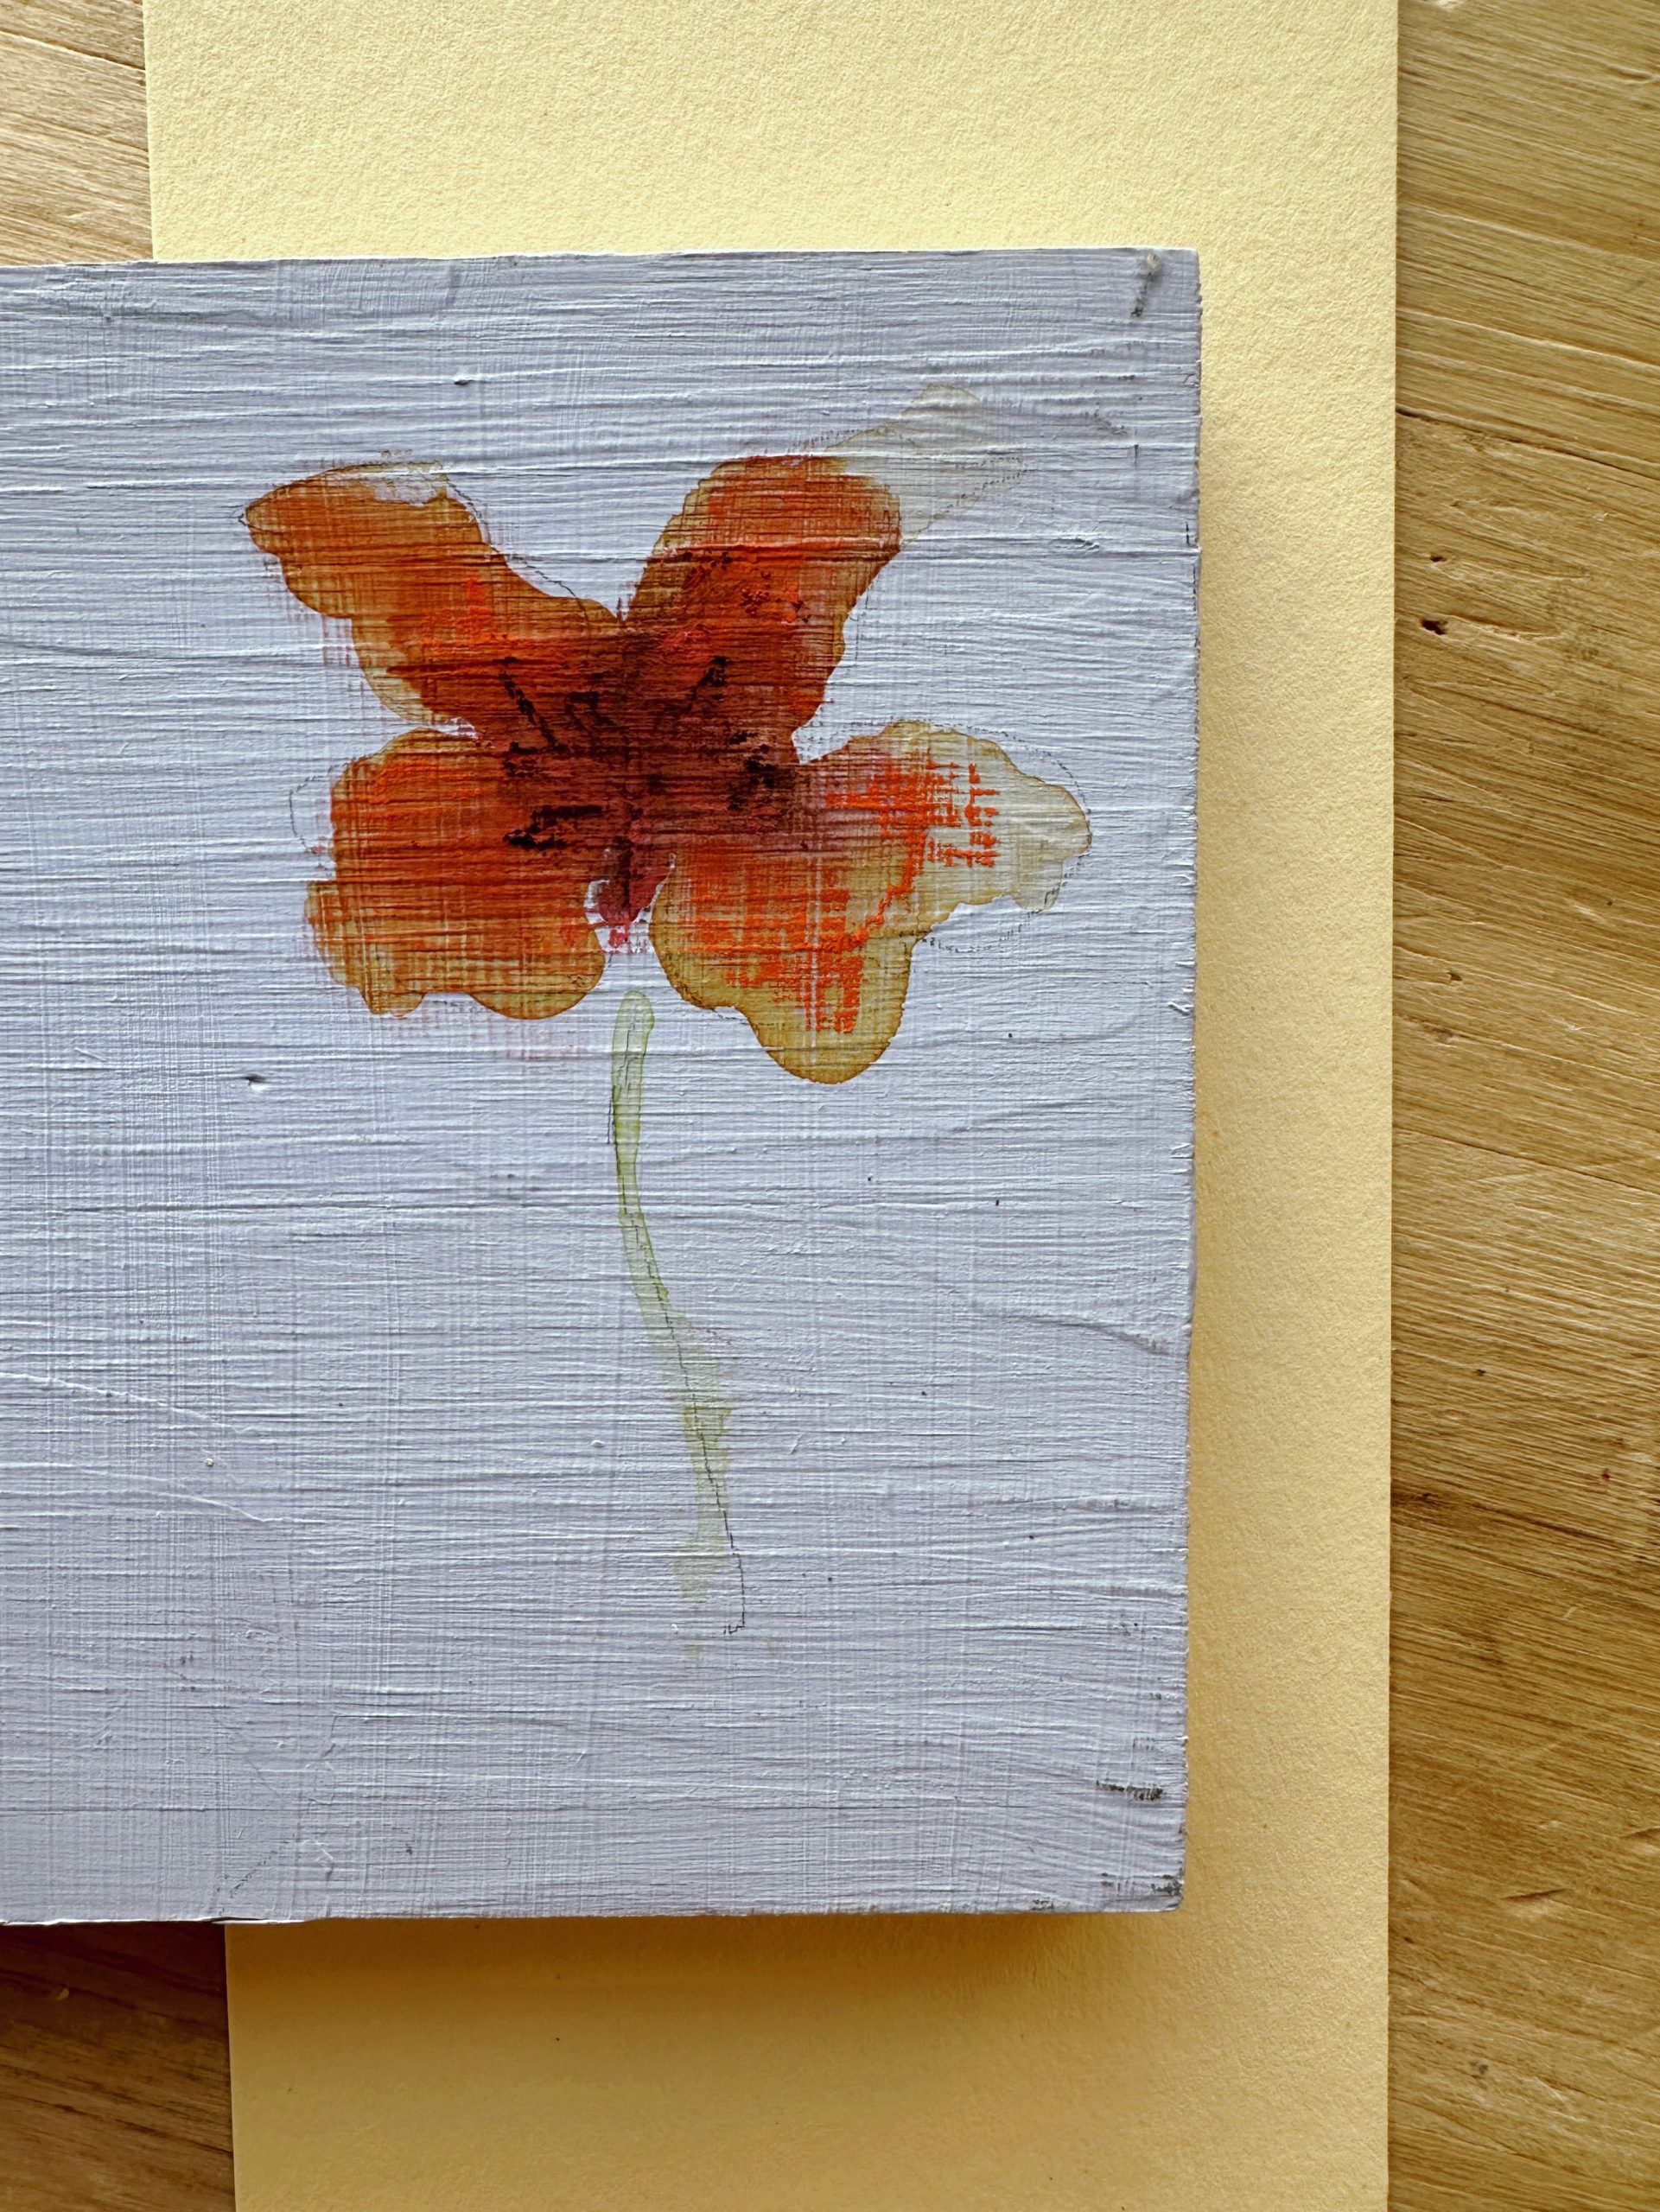
To prevent the sheet from warping, we can secure it with paper tape or place a heavy object on top of it once it has dried, if we are not going to use it right away.
The primer or paste can be applied with a coarser or finer brush, depending on the texture we want to achieve. Long, sweeping strokes will create a more streaky brush texture, while short, random, or circular movements will produce a more abstract one. You can also use a foam brush or sponge —again, by gently smoothing or pressing firmly. If the result seems too rough, the surface can be lightly sanded.
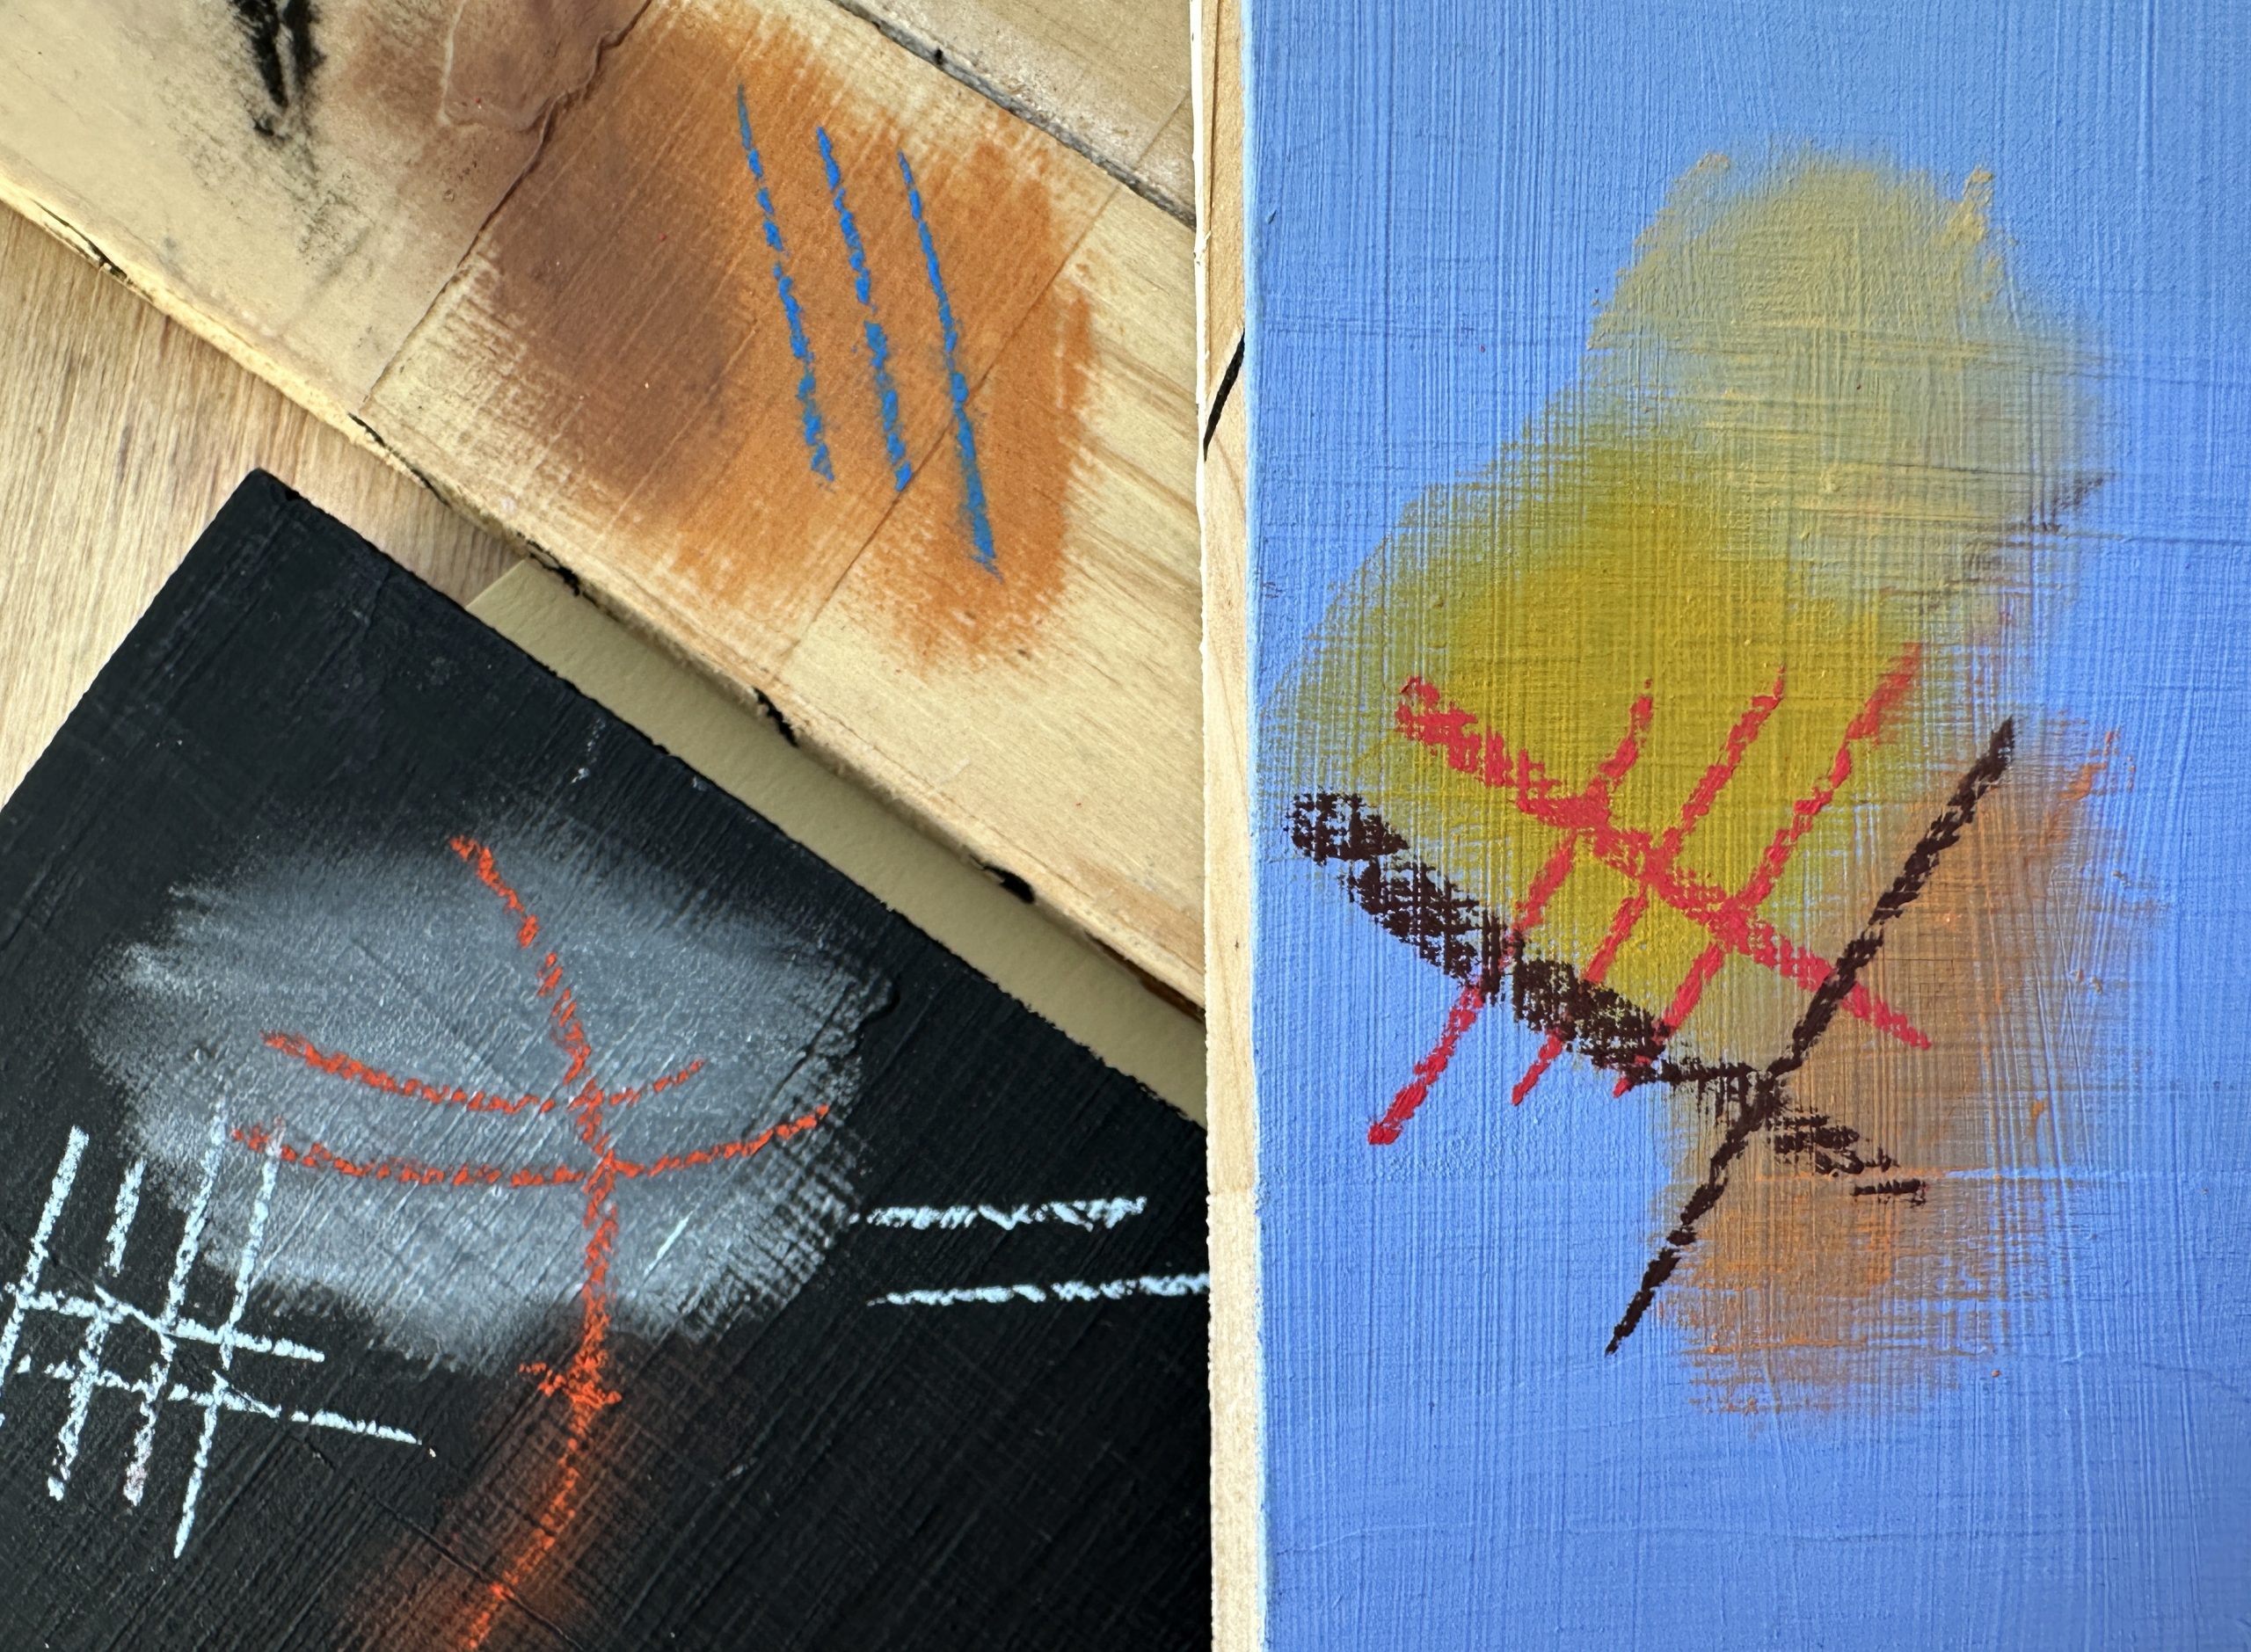
Prepared in this way, the base not only helps separate and hold the dry pigment, but also allows for the layering of different colors. The shades appear much brighter and more saturated—a quality that is most noticeable against a medium-to-dark background.
An option for enthusiasts
Those who draw a lot and are looking for the effect of high-quality pastel boards and papers will find it most cost-effective to mix their own textured primer.
There are various recipes for this purpose , all of which include the following ingredients in different combinations and proportions:
- coarse particles —such as ground pumice (volcanic rock), fine sand, powdered marble, or aluminum oxide;
- an acrylic medium that will bond them together and hold them to the surface once dry— clear or white primer, acrylic binder or acrylic paint, if you want to tint the mixture;
- a rigid base for mounting — thick cardboard with a density of >300 gsm (such as Mukava) or a flat surface such as fiberboard, a wooden board, or PVC foam.
A sample recipe would include 3 parts acrylic paint to 1 part pumice powder, mixed well with a little water until smooth. Or 2 parts gesso to 1 part pumice powder and 1 part water. The consistency of the batter and the texture of the final product are a matter of experience and preference. It is a good idea to wear a dust mask.
While applying the mixture, stir it periodically, as the heavy pumice particles settle to the bottom. This allows you to prepare many sheets or panels for painting at once. For even coverage, apply 2–4 crisscross strokes of the primer, allowing each stroke to dry before applying the next.
If we choose cardboard, we need to be careful that it doesn’t warp when it gets wet or during storage. One helpful tip is to prime the back as well.
Recommended Products
Among the ready-made products listed here, you’ll find transparent gesso and fine-grained texturing pastes from Amsterdam and Rosa Gallery:
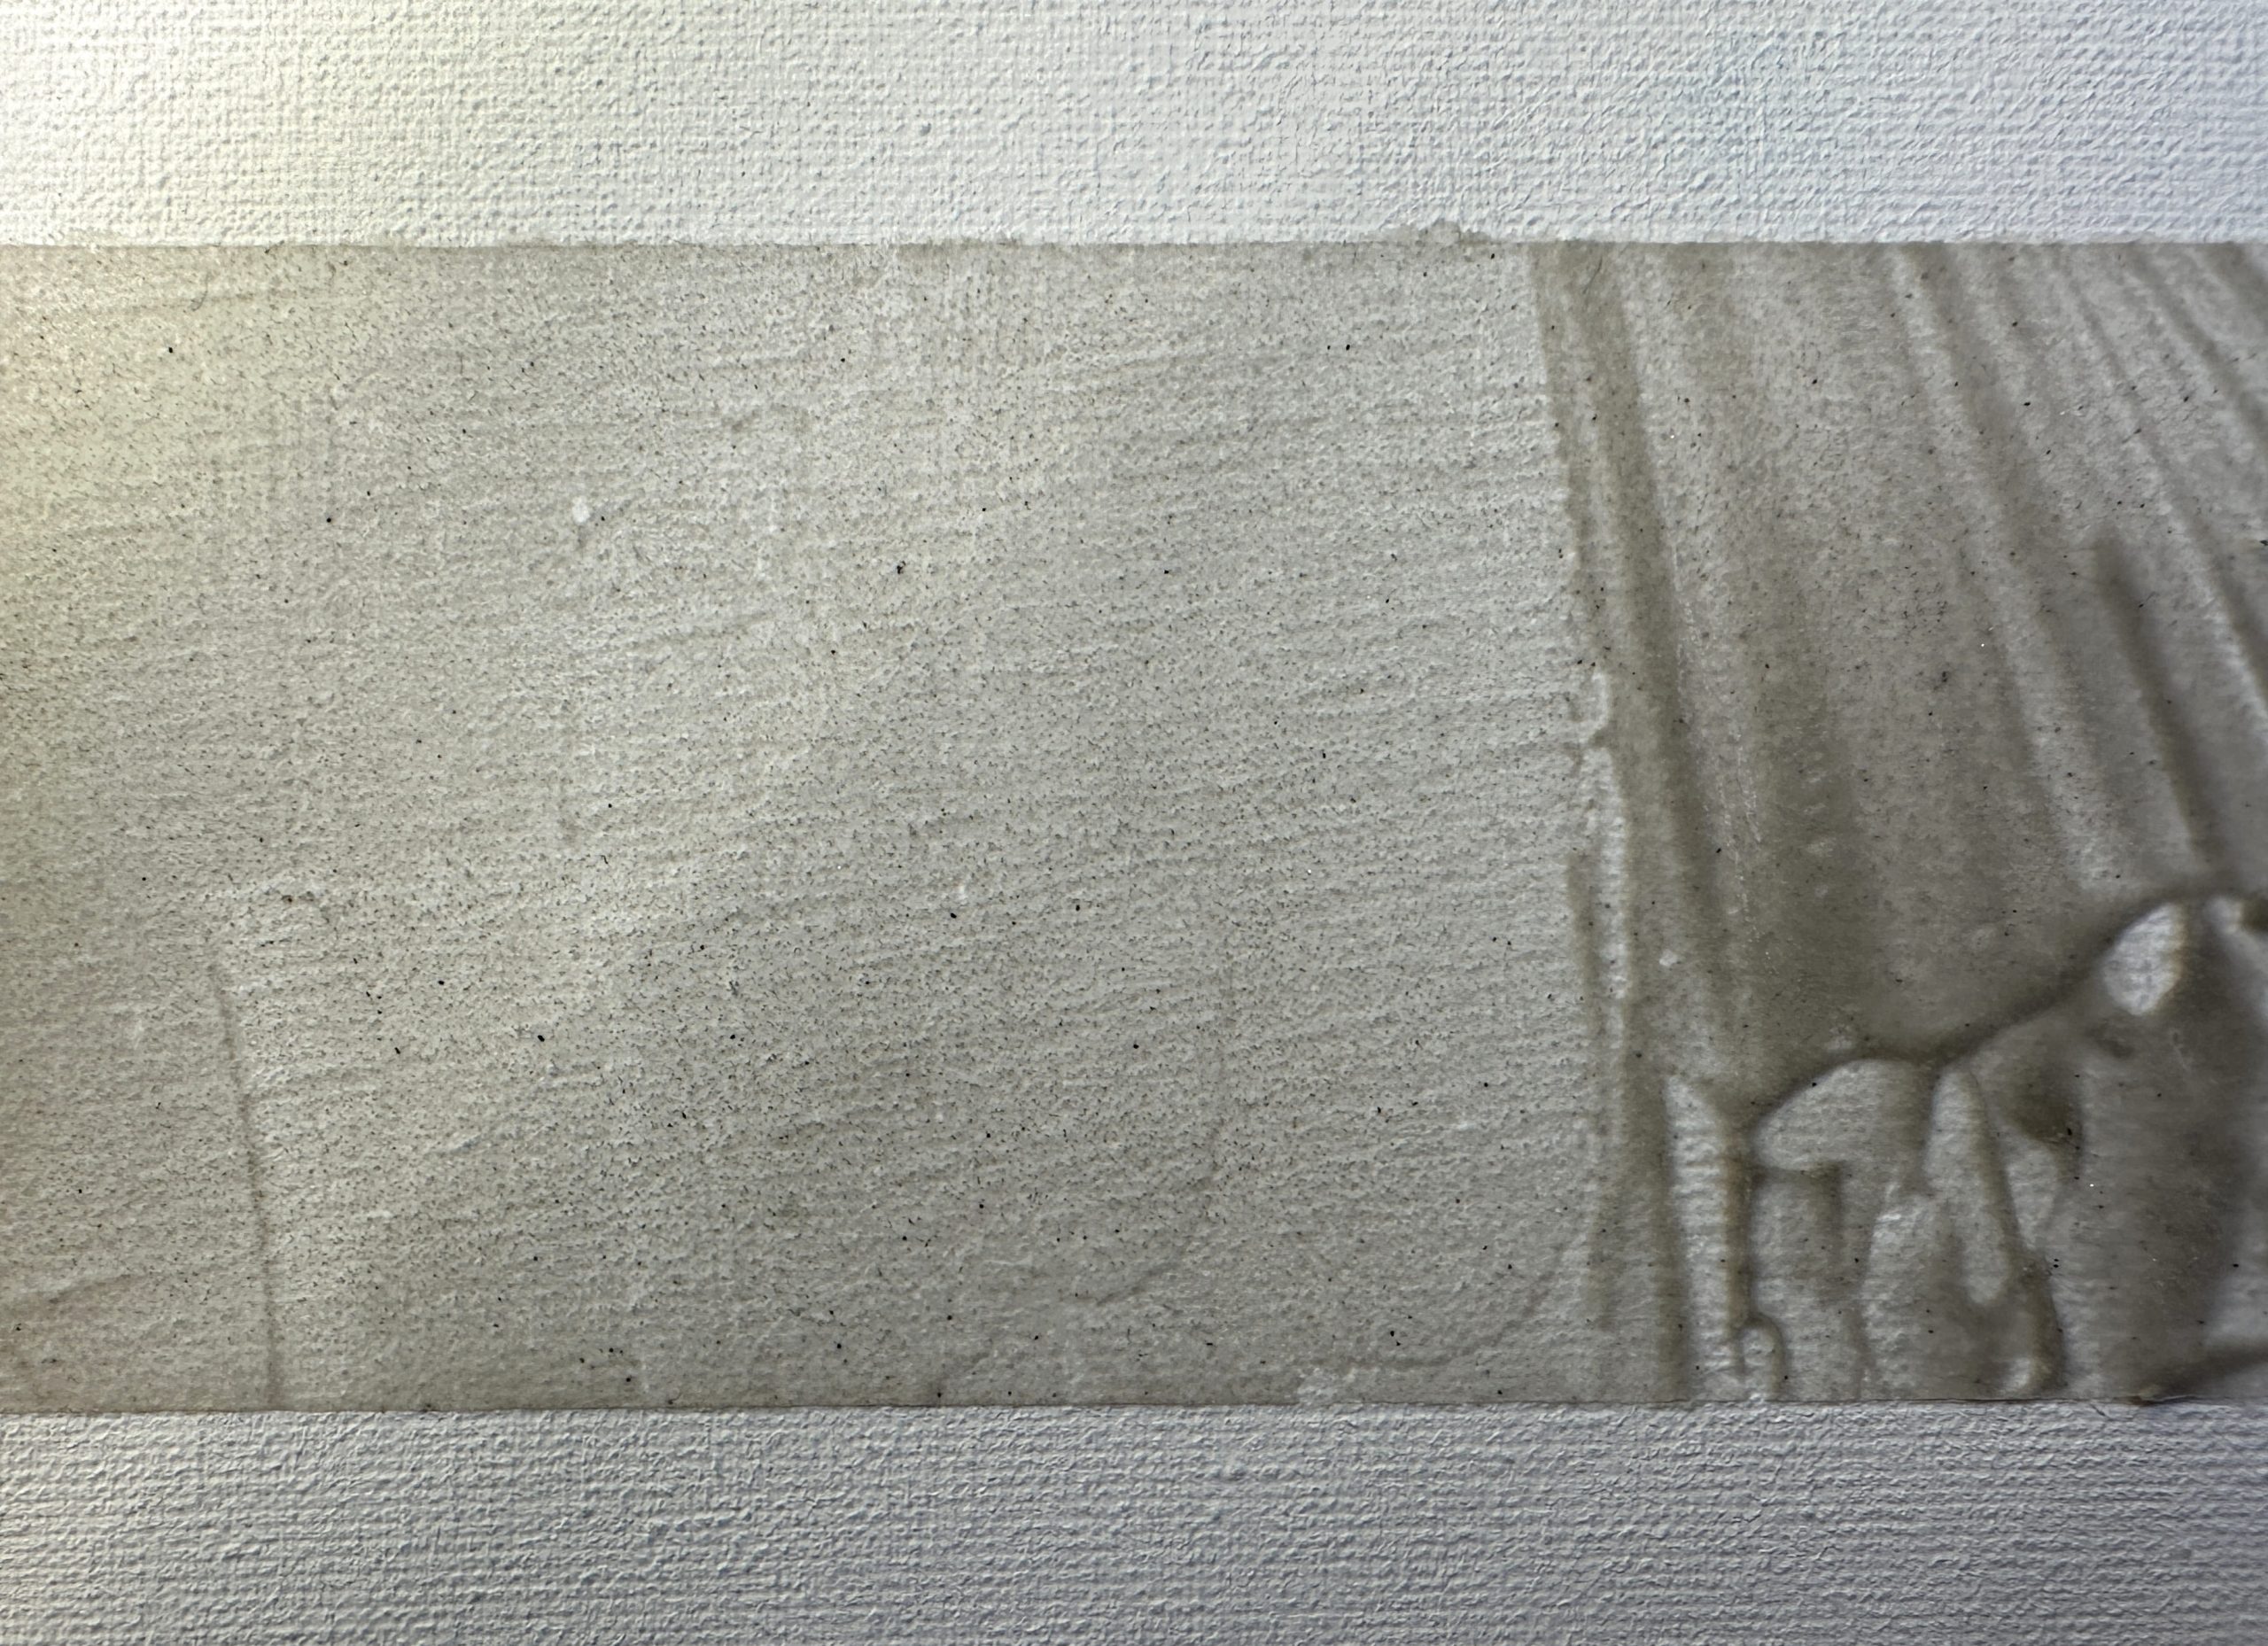
- The transparent primer can be colored with acrylic paint or ink, or applied to a white, colored, or pre-colored sheet of paper. It dries to a completely matte finish. Its texture is very fine, making it a wonderful base for drawing with charcoal and pastels, as well as for smudging and blending colors;
- The Amsterdam textured gel with ground volcanic rock (pumice) can also be applied on its own or tinted beforehand. However, its off-white, light-gray tone will affect the resulting color when mixed with paint or applied to a colored background. Its texture is significantly rougher, which means the pastels are used up more quickly and blending on the paper is more labor-intensive. On the other hand, the rougher texture lends character to the artwork. As mentioned, the roughness can be smoothed out with light sanding.
Can't we just use sandpaper?
The rough-textured pastel paper feels just like ordinary sandpaper from the very first touch. This inevitably raises the question of whether we could just pop over to the nearby hardware store and pick up a cheap drawing surface.
In fact, the roughness of the leather is not an absolute guarantee that it will be able to withstand more layers of color. It is not acid-free, which means that over time it will most likely fade (turn yellow), and eventually it will begin to crumble and disintegrate. The color options are also very limited. The adhesive that binds the sand particles to the paper can be weakened by wet techniques using water and rubbing alcohol. Of course, its properties vary among different manufacturers and product lines. Last but not least, working with a lower-quality product hinders the learning process and mastery of the medium.
All in all, sandpaper remains one of the options for initial practice (aside from sharpening pastels). For this purpose, the finest-grit sandpaper is selected. When carefully protected, our favorite sketches on well-chosen sandpaper can last quite a long time. There are still preserved paintings by famous pastel artists created on nothing more than ordinary sandpaper.
At home , we can make the project last longer by using spray adhesive and mounting it on a stiff backing ( fiberboard, wooden board, cardboard, foam board), and storing them in a dry, dark place or behind glass. This also applies to drawings on specialized paper.
Paper for oil pastels
Even oil pastels, which adhere to almost anything, appear much brighter on a transparent gesso. If you have pastels that don’t yield satisfactory color, this base would improve their performance as well.
The default choice in this case is slightly textured pastel paper or watercolor paper (preferably with some cotton content), the latter of which can also withstand the dissolution of colors with white spirit. With watercolor papers, we have a choice between the rougher cold-pressed varieties and the smoother hot-pressed papers. However, drawing with oil pastels on smooth paper may require some getting used to and a different approach.
Protection with Pastel Varnish
Whichever option you choose, don’t forget to protect your work with a spray fixative for charcoal and pastel. For best results, apply the fixative lightly between layers. This also helps build up the shades. The final layer of color can either be sealed or left unprotected to maintain maximum vibrancy. Read more in the product description.
There is another method for making drawings more durable if you don’t want to use varnish. A sheet of a sheet of very smooth tracing paper is placed over the drawing and pressed firmly across its entire surface, without shifting. This “presses” the pigment particles into the fibers of the paper. The same acid-free paper can also be used to separate the drawings in their storage area.
As for oil pastel paintings —if they are not framed behind glass, they are sealed with a brush and clear liquid varnish.
Author: Martina Petrova


