

How to Build a Canvas Stretcher
Home » Uncategorized » How to Build a Canvas Stretcher
Every high-quality painting on canvas starts with a good foundation, and at the heart of that foundation lies the stretcher. Although hidden from view, it is crucial to the shape, durability, and overall appearance of the artwork. In this simple guide, we’ll explore what a canvas stretcher is, how it’s assembled, and how to stretch the canvas onto it.
What exactly is a canvas stretcher?
The stretcher is the wooden frame onto which the canvas is stretched. It determines the format of the painting— square, rectangular, or another shape—and is visible only on the back of the painting.
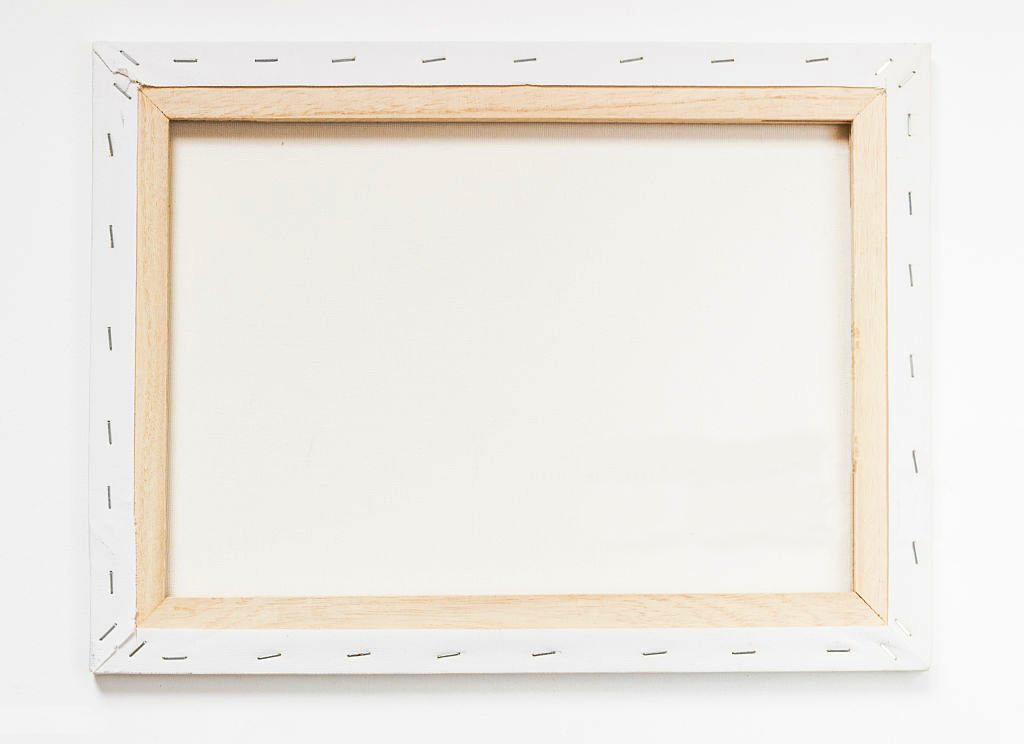
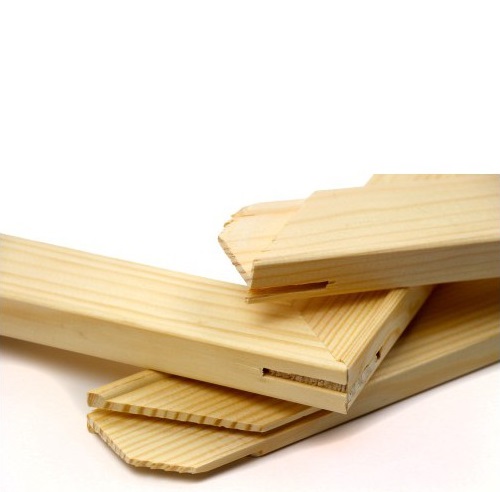
The term “subframe” refers both to the entire assembled frame and to each individual slat. These slats have a specific beveled profile at the ends, shaped for assembly. Their front side, where the canvas rests, is slightly raised, with a rounded or beveled edge. This keeps the canvas separated from the wood along its entire length. The back, on the other hand, is completely flat so that it fits snugly against the work surface and, later, against the wall.

What material are the stretcher bars made of?
The frames are made primarily of wood, though some are made of metal or a combination of the two. The slats we offer at Slanchogled are made of laminated pine —a material that has proven to offer an excellent balance of price and quality. They are manufactured by the Ukrainian company “Rosa,” which uses carefully dried, high-quality softwood to create frames that are lightweight and resistant to warping.

Dimensions and Profiles of Subframes
We offer wedge-shaped battens ranging in length from 20 to 80 cm. Each has a cross-section of 15 x 35 mm, suitable for most projects.
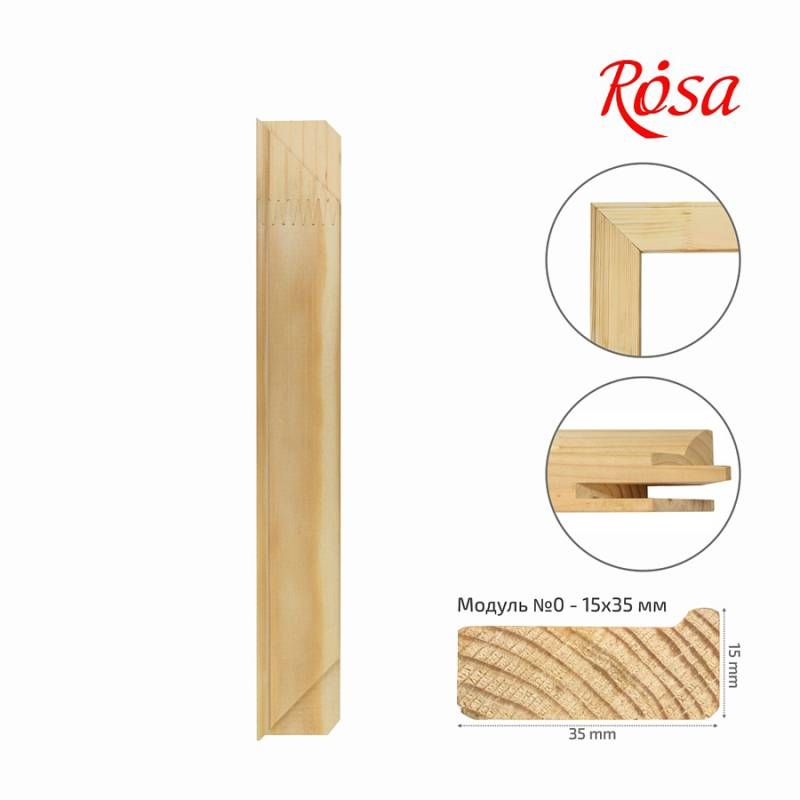
There are also sturdier profiles available on the market. They are suitable for making a sturdier stretcher frame (for example, for very large formats) or for a greater depth of the canvas (i.e., the painting protrudes further from the wall).
How do you assemble a canvas stretcher?
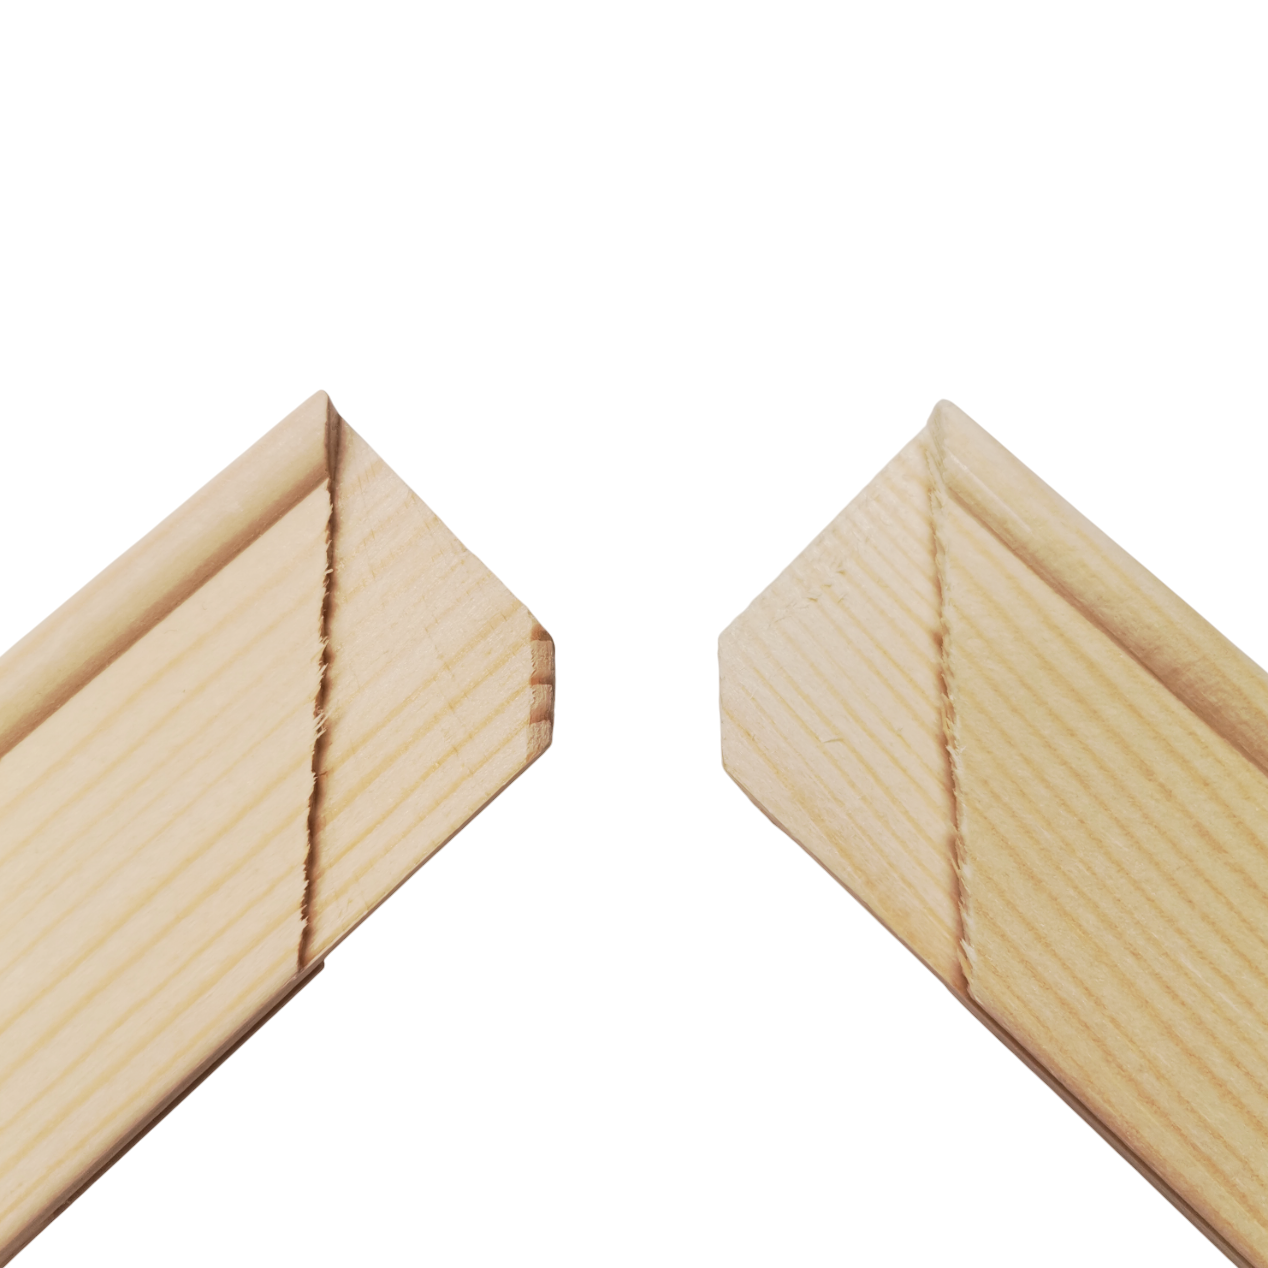
The name of the wedge-shaped subframes comes from their distinctive cross-section. The teeth at their ends fit precisely into one another, ensuring strength while also making it as easy as possible to join them at right angles.
- Preparation: You’ll need 4 slats for an entire stretcher frame—4 identical ones for a square canvas or 2 pairs of different ones for a rectangular one.
- Assembly: Position the slats with the same side facing up. Align the notches on one slat with the opening on the other, and press the two together.
- Tightening: If necessary, you can use a rubber or plastic mallet (which won’t damage the wood) to tap the slats until they fit snugly.
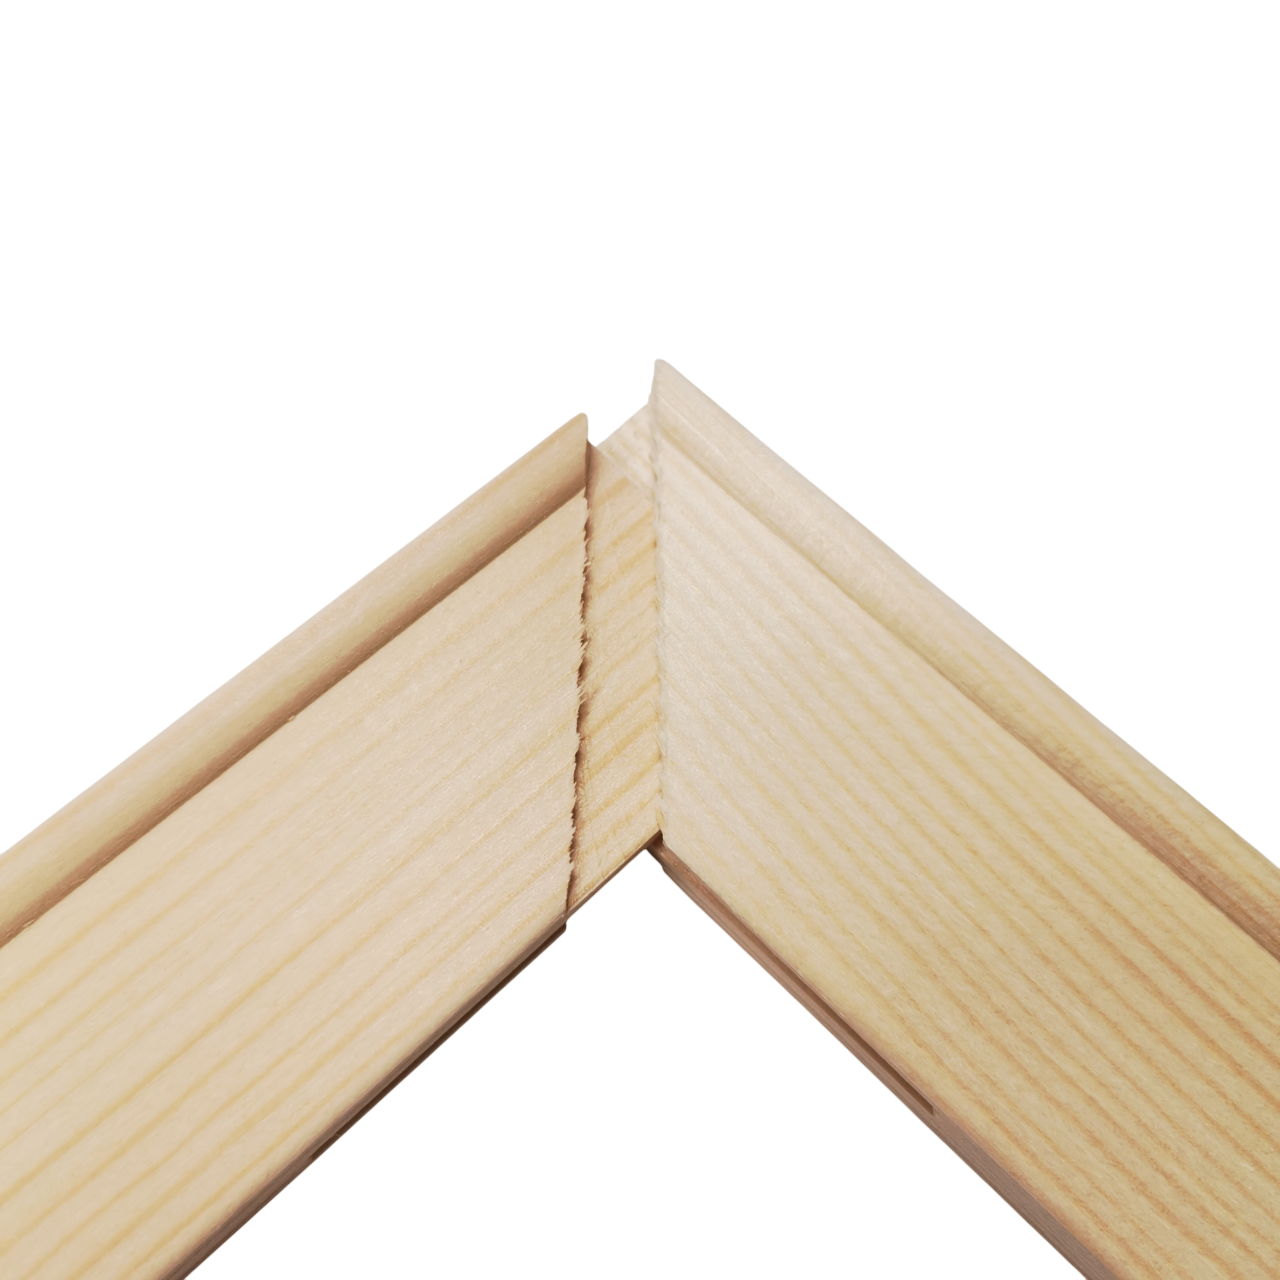
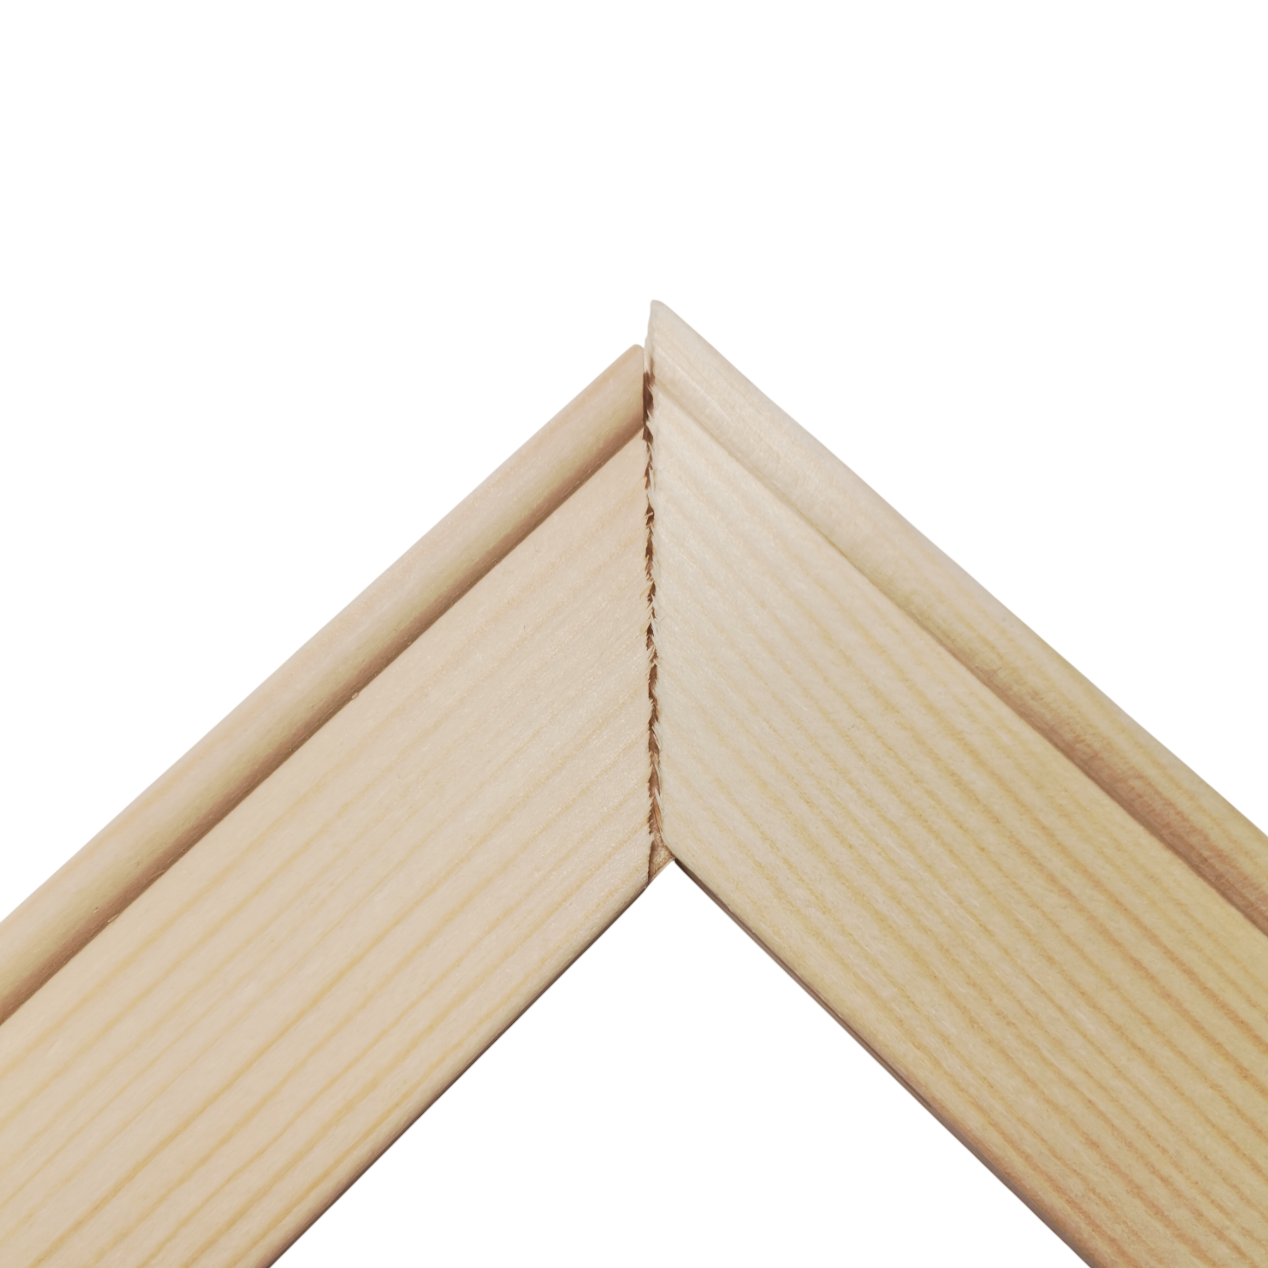
- Check: By measuring at the end, we can verify that the angles and sides are perfectly equal and adjust them if necessary. Perfectly equal diagonals mean perfectly right angles.
How do you stretch a canvas onto a stretcher frame?
A primed canvas* can be stretched primed canvas or unprimed canvas, both of which can be purchased by the meter. The choice between primed and unprimed canvas depends on the artist’s personal preferences and goals.
It is recommended to paint on a canvas that has already been stretched. Stretching a painting only after it has been completed carries risks such as uneven positioning and cracking of the paint when pulling on each side.
*A frame like this can also be adapted for other purposes, such as painting on silk.
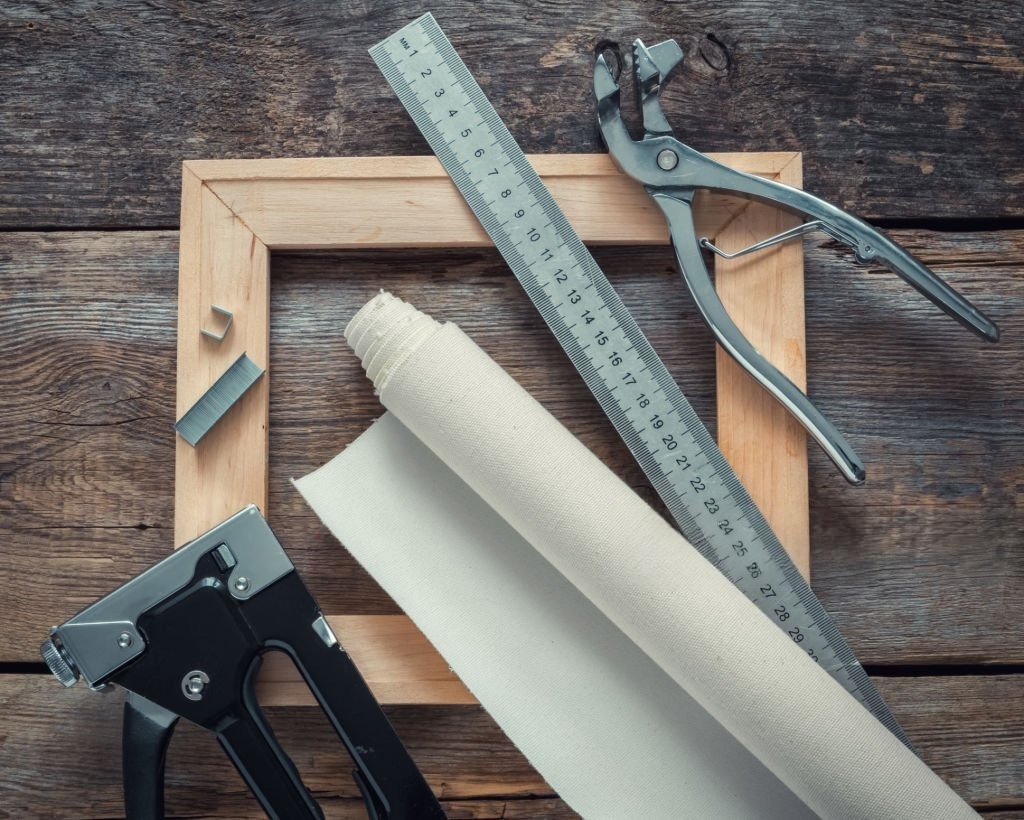
Materials Needed
- assembled subframe
- a piece of fabric large enough
- standard staple gun with staples
- sail stretching pliers (optional)
Step-by-Step Process Sequence
- Dimensions of the canvas: It must be larger than the stretcher so that it can wrap around the sides and leave an additional 5–7 cm on the back for securing.
- Positioning: Place the canvas face down, then center the stretcher frame on top of it.
- Stretching: The actual stretching is done in a crisscross pattern:
- First, secure the canvas with the staple gun in the middle of one of its long sides. One or two staples, driven in a short distance apart and parallel to the slat, are sufficient.
- Next, work on the opposite side. Stretch the fabric carefully by hand or with the help of pliers and secured again with the staple gun.
- Finish the other two sides in the middle in the same way.
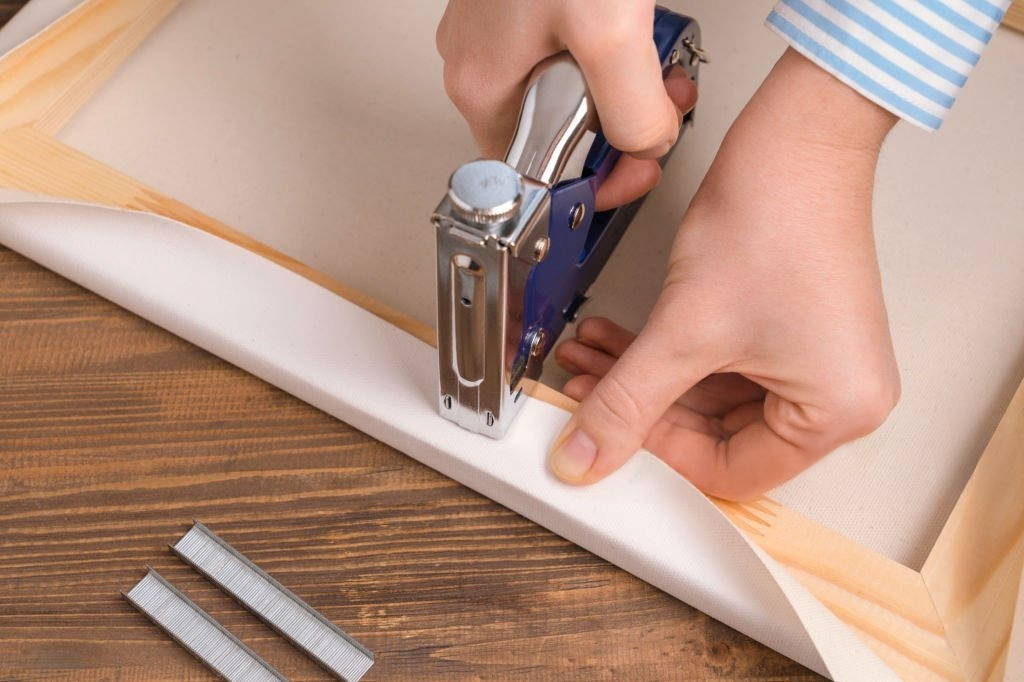
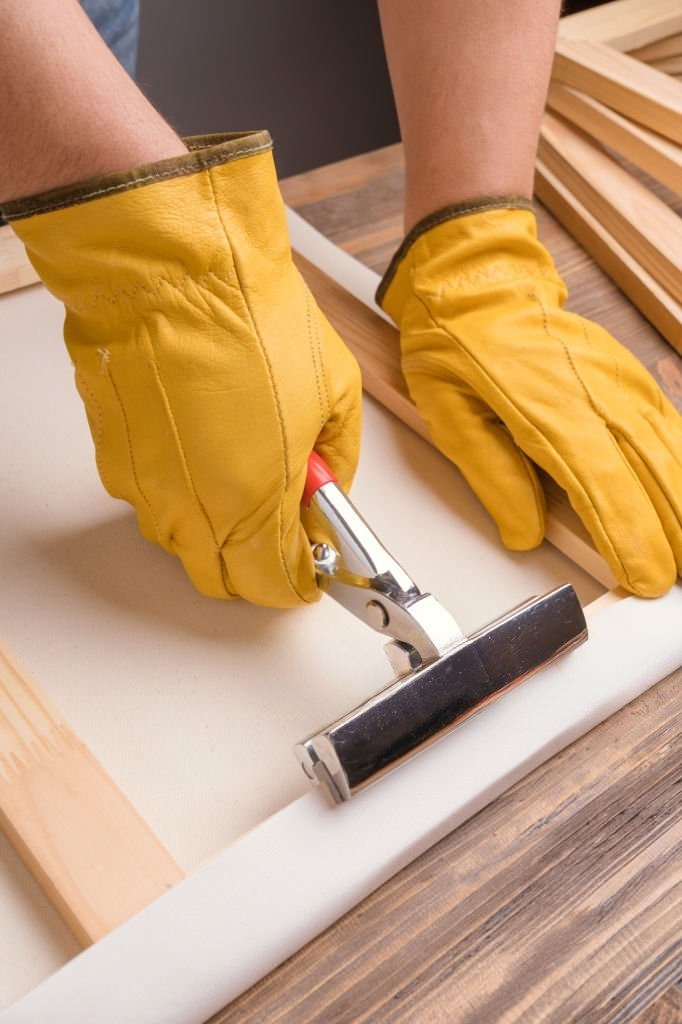
- From the center to the corners: Continue securing the fabric from the center toward each corner. Alternate the opposite sides in a mirror-image pattern to ensure even tension. As we work, we check the front side to ensure that the fabric is stretched evenly and there are no unevennesses. Finally, we leave about 5 cm loose before each corner.
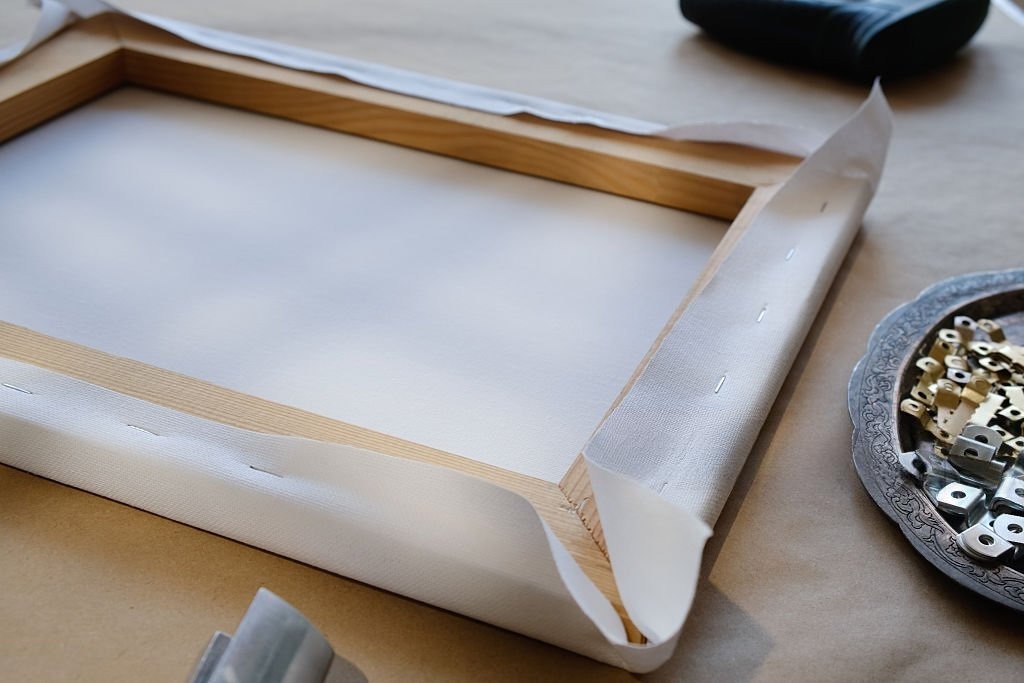
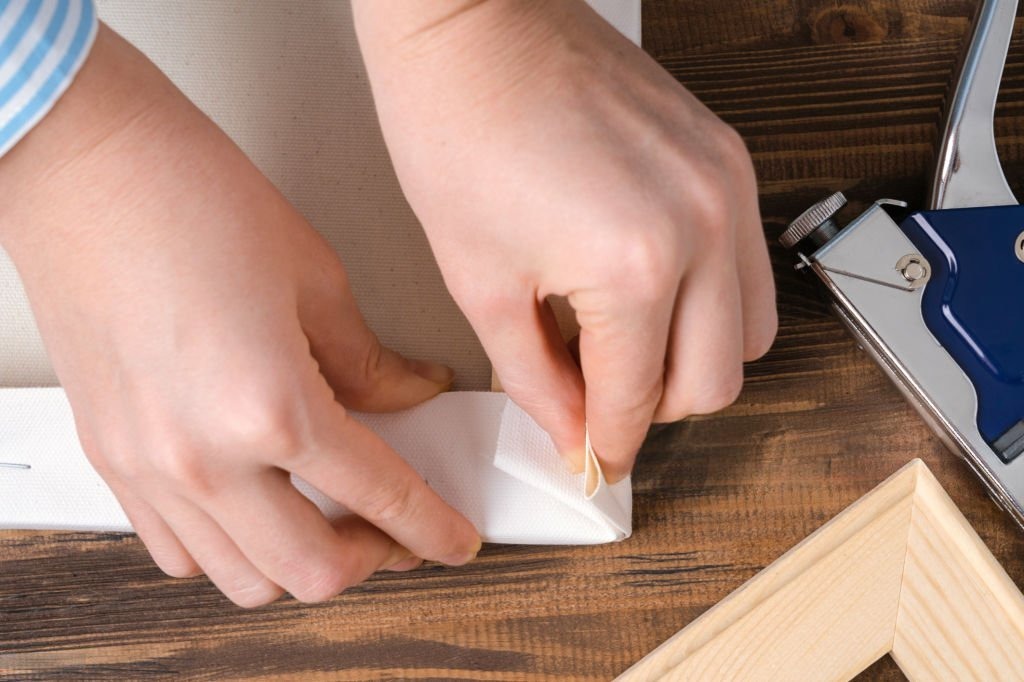
- Folding the Corners: The final step is to carefully fold and secure the canvas at the corners. It is recommended that you do not use wire to connect two adjacent stretcher bars.
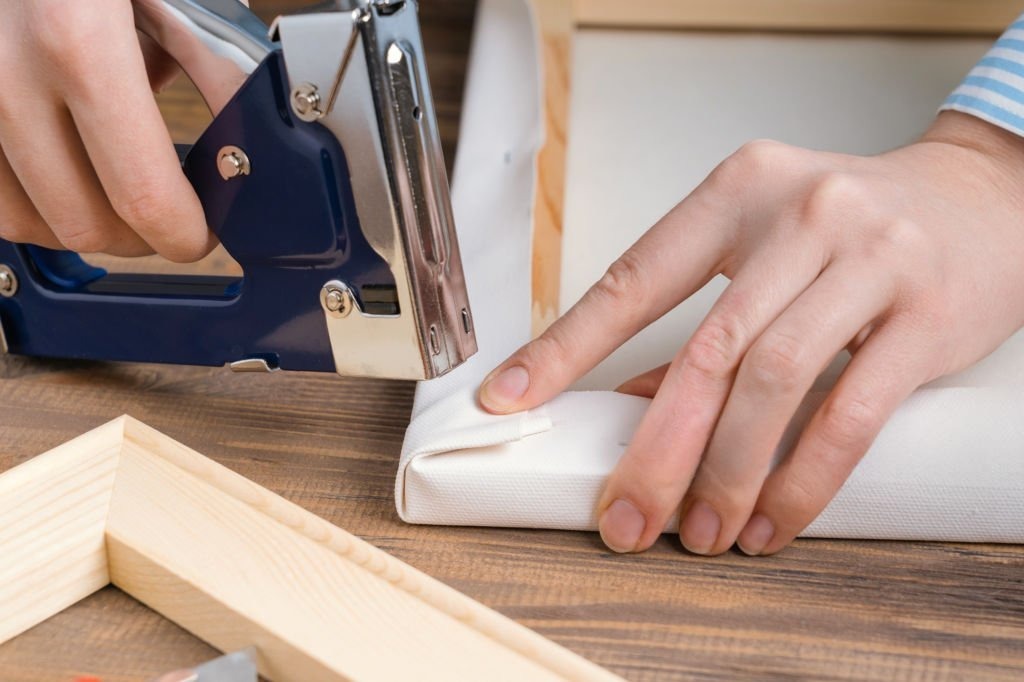
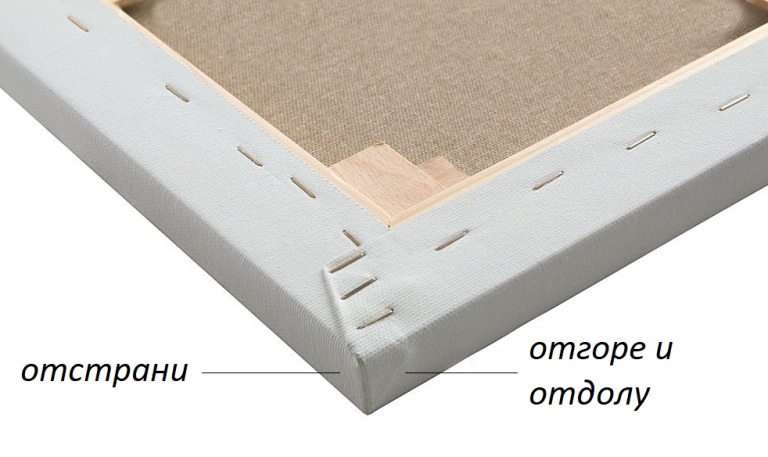
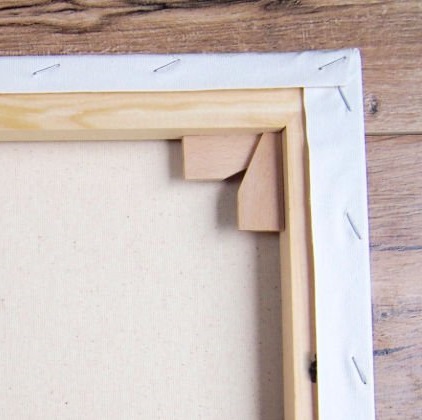
- Finishing Touch: Cut off or staple down the excess fabric at the back. When properly stretched, the fabric sounds like a drum when tapped. If more tension is needed, you can use stretcher pegs. These are hammered in two at a time at the inner corners, increasing the tension.
Advantages of "do-it-yourself" fabrics
- Custom sizes: This way, we can put together sizes that aren’t available in stores. These often include, for example, very long, narrow shapes.
- Saving Money: For enthusiasts who paint regularly and for students at secondary and higher arts schools, assembling and priming a canvas yourself can be a budget-friendly alternative to ready-made stretched canvases.
- Complete control: For experienced artists, this is a way to select every single component of the canvas—the type of stretcher, the type of canvas, the primer, and so on.
- Satisfaction: Creating a painting—from its basic structure to the final stroke—brings incomparable satisfaction.
Author: Martina Petrova


