

No products in the cart.
Your order
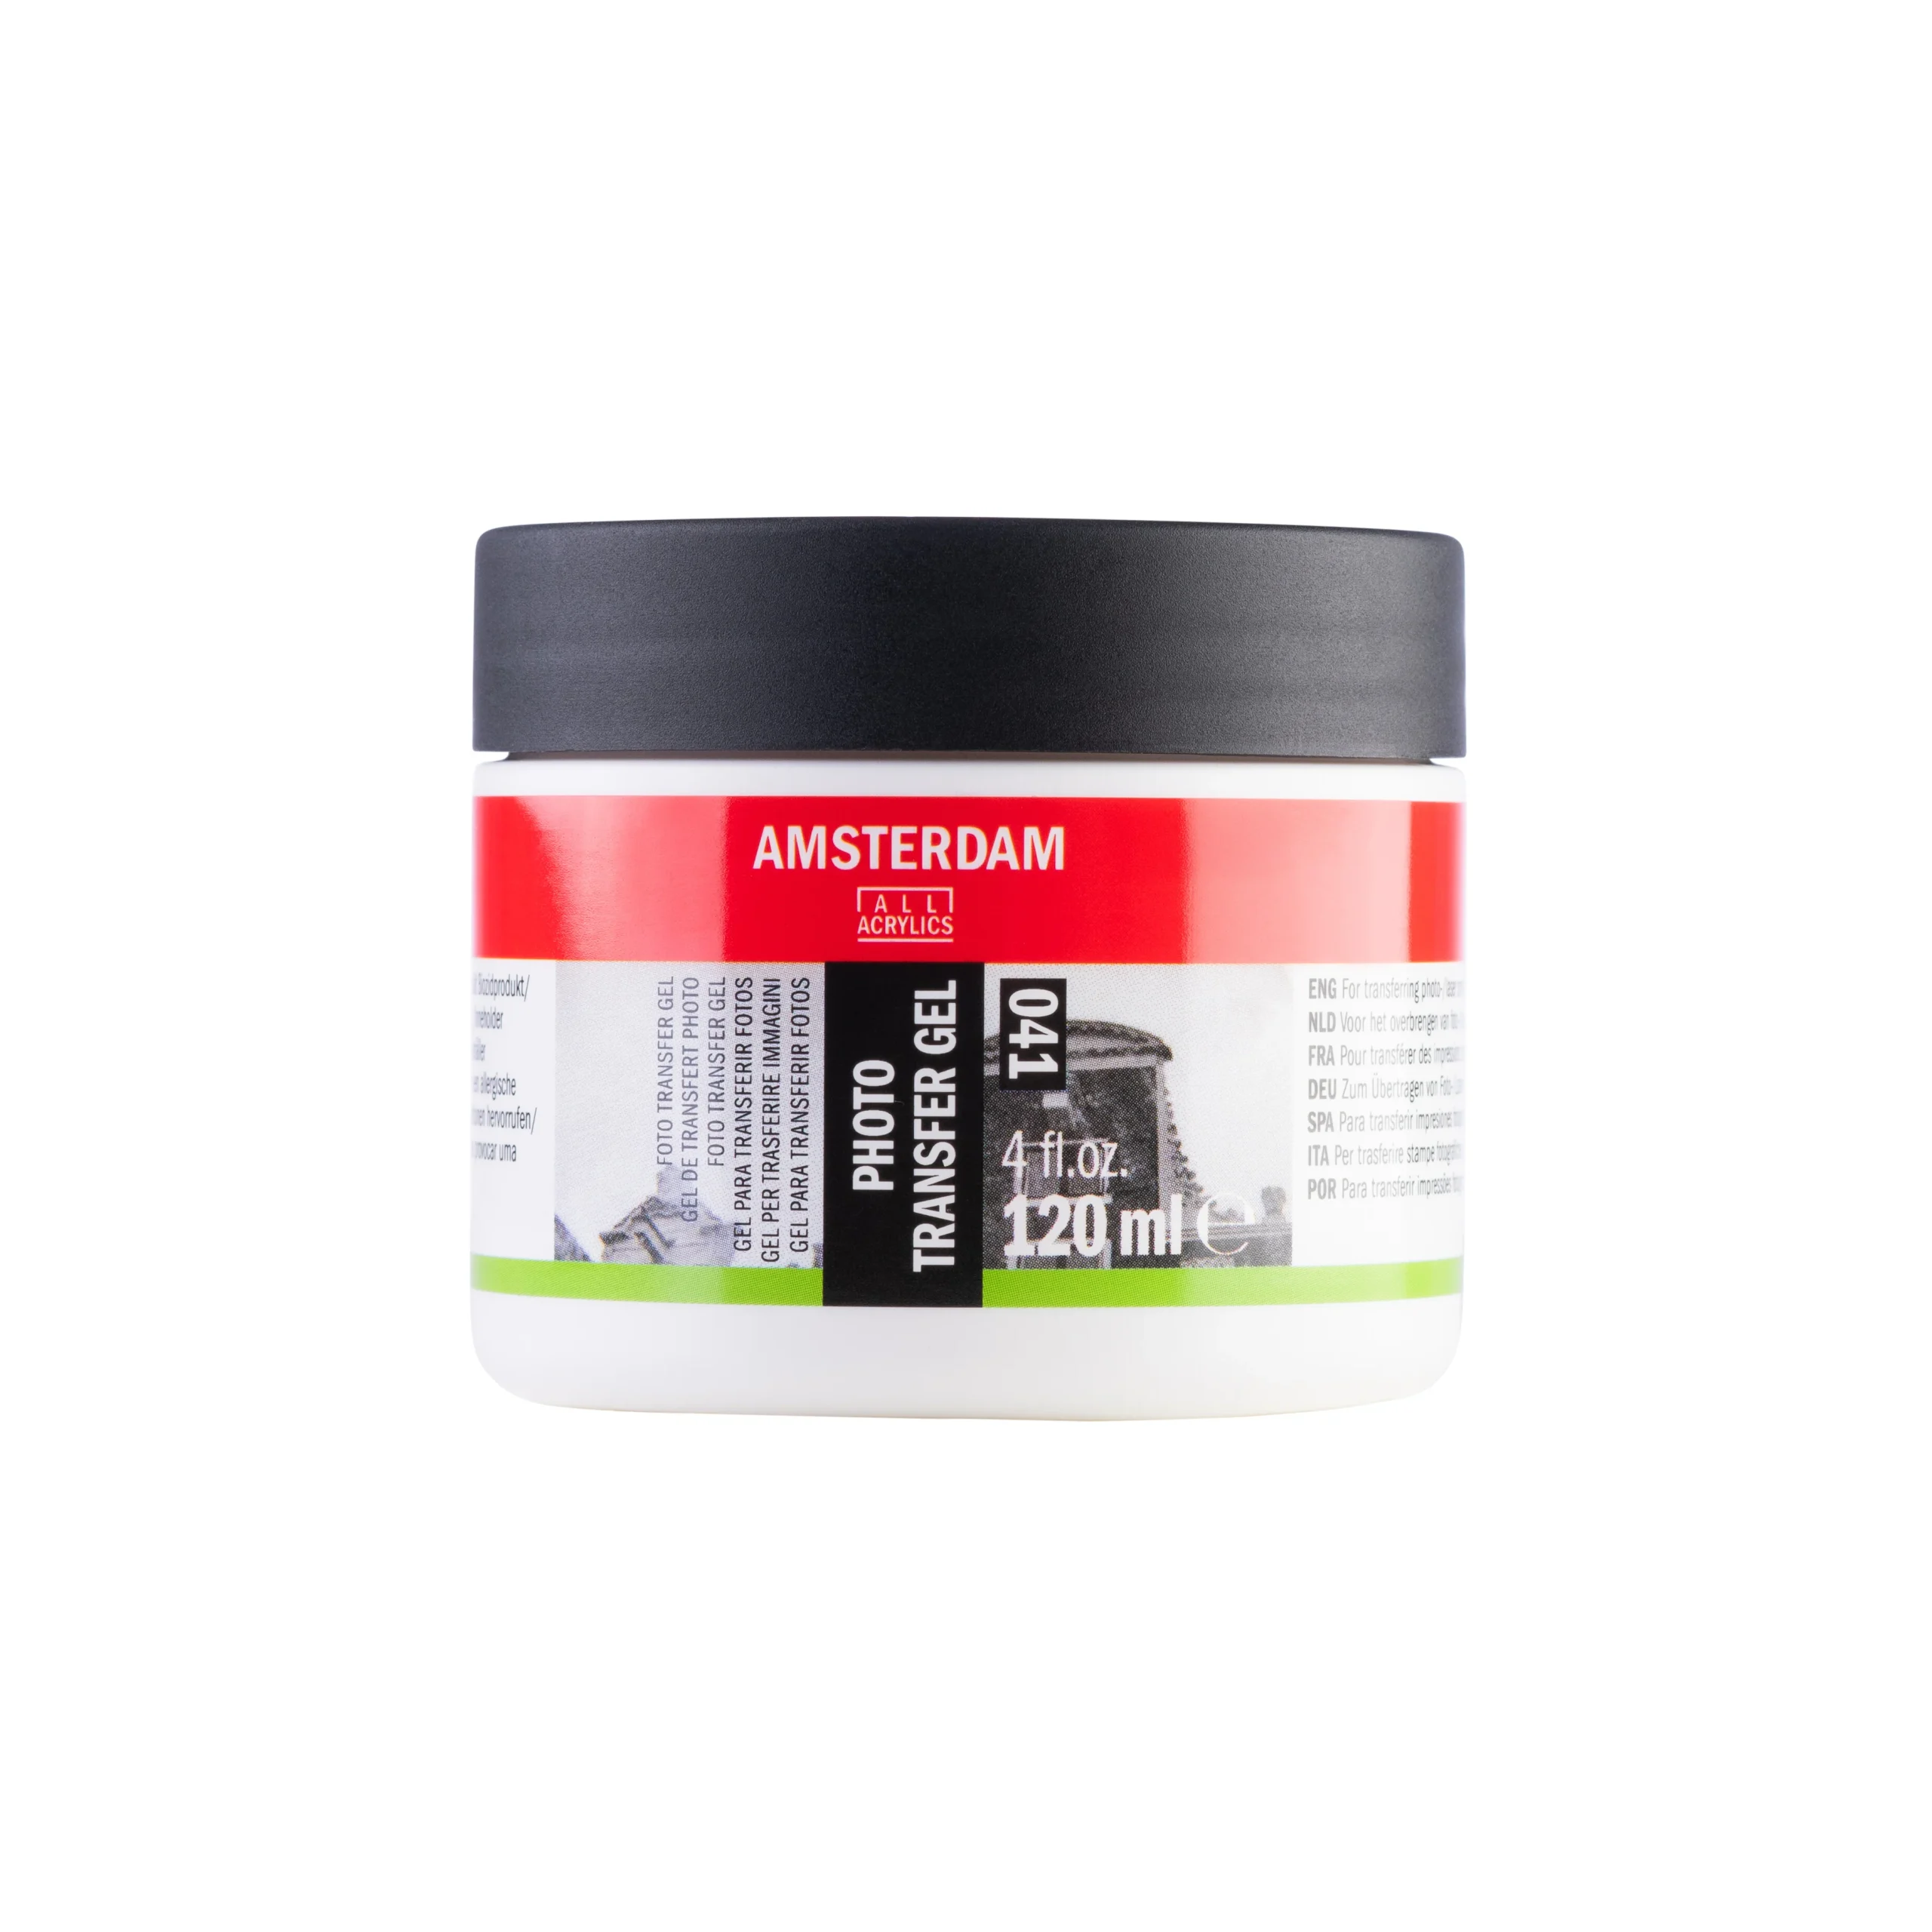
Photo Transfer Gel: Amsterdam 041: 120 ml
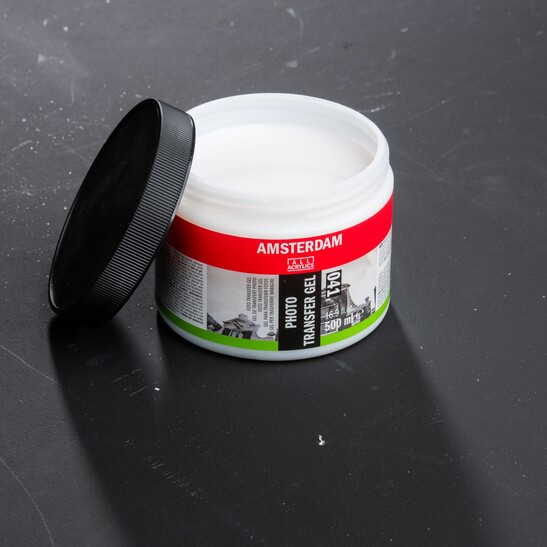
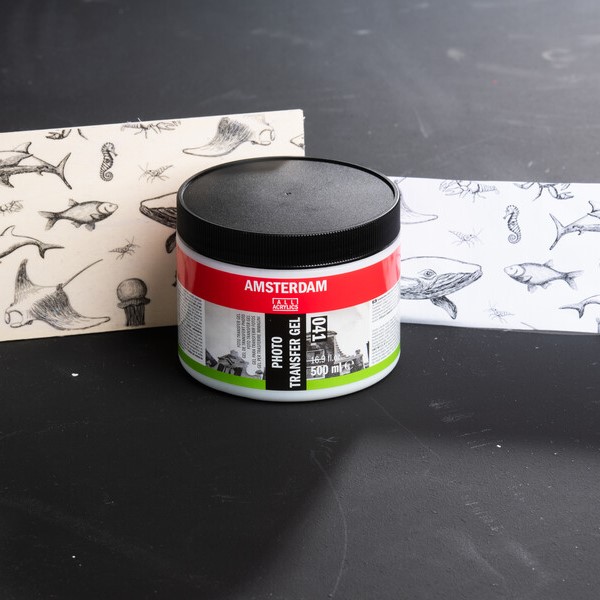
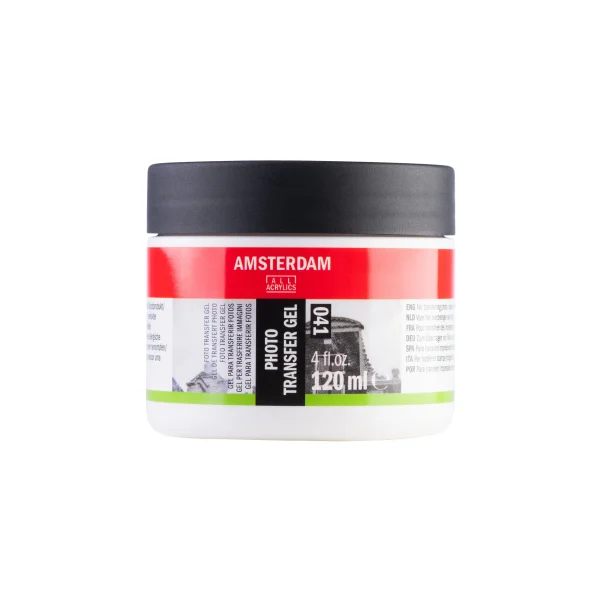
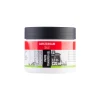
Photo Transfer Gel: Amsterdam 041: 120 ml
8.69 €
7.24 € (excl. VAT)
An acrylic resin-based gel designed for transferring images onto various surfaces: both absorbent (canvas, wood, paper) and smooth (glass, metal, plastic).
It is compatible only with prints from a laser printer or photocopier.
Once dry, it forms a transparent, water-resistant film.

Check Availability
Product is available in stores only. Check Availability
Product is out of stock.
Rate Product
Instructions for Use
1. Preparing the image: The image is prepared by mirroring it (this is especially important when text is present, since the transfer process flips the image). This method is compatible only with a laser printer or photocopier.
2. Applying the gel: Apply an even layer of the gel to the printed side of the paper or directly to the surface onto which the transfer will be made.
3. Positioning and Pressing: Place the paper with the printed (gel-coated) side facing down on the desired surface. Press firmly and smooth it out carefully (for example, with a plastic card or a putty knife) to ensure full contact and remove any air bubbles.
4. Drying process: Allow the project to dry completely. This process takes at least 24 hours.
5. Removing the paper: Once completely dry, moisten the paper backing thoroughly with a wet cloth or sponge. Once the paper is thoroughly wet, gently rub it off with your fingers or a soft cloth. Repeat the process until the entire paper layer is removed and only the transferred image remains.
6. Final steps:
- You can paint directly on the finished image using acrylic paints.
- To remove any white film (a residue from the paper) and achieve a better final result, it is recommended to apply a final coat of glossy acrylic medium or varnish.
Operating and Storage Conditions:
- The recommended operating temperature for this product is above 10°C.
- The product should be stored in a location protected from freezing.
- Clean the tools with water immediately after use.
Additional information
| Weight | 0.1800 kg |
|---|
We dispatch 98.5% of orders received by 1pm on a weekday (Monday to Friday) same day , for collection from a courier office or delivery to an address in major cities on the next working day.
Phone numbers for contacting our online order fulfillment center in the Industrial Zone of the City of Varna:
0898 608 004 and 0878 131 023on working days from 8.00 to 17.00hours.
Confirmation of receipt of the order and changes in its status arrives automatically to the e-mail specified in the order. We call only if additional clarifications are necessary or an imposed delay.
Shipping Rates
Orders for an amount over BGN 100 have free delivery to the address or office of the courier.
For orders worth less than BGN 100, the cost of the courier service is at the buyer’s expense and is determined depending on:
- The selected courier company Speedy AD or Econt Express
- Delivery method (To office or to address)
- The weight and volume of the shipment
The amount of the courier service is calculated automatically by the system upon completion of an order.
A minimal difference in the amount of the courier service upon receipt of the package is possible due to discrepancies in the total weight of the package calculated by the system and the weight measured by the courier company.
Customers of the Slanchogled online store enjoy a 30% discount from the basic tariff for courier services of Econt Express OOD and preferential prices upon delivery by Speedy AD courier.
Payment method
- Cash to the courier upon receipt of the delivery (cash on delivery)
- By bank transfer
- Pay by card
Delivery Method
- To the specified office or address by courier of Speedy AD
- To the indicated office or address with Econt Express courier
Return of goods
- Return of goods for a full refund is accepted within 14 days, subject to the conditions specified in the Consumer Protection Act
- If a defect is detected or an item sent incorrectly, Slanchogled bears the courier costs for returning the item
- In case you want to return the goods for another reason – courier costs are covered by the recipient
For inquiries and questions
You must be logged in to post a review.


Reviews
There are no reviews yet.